

Rutted new-build ground
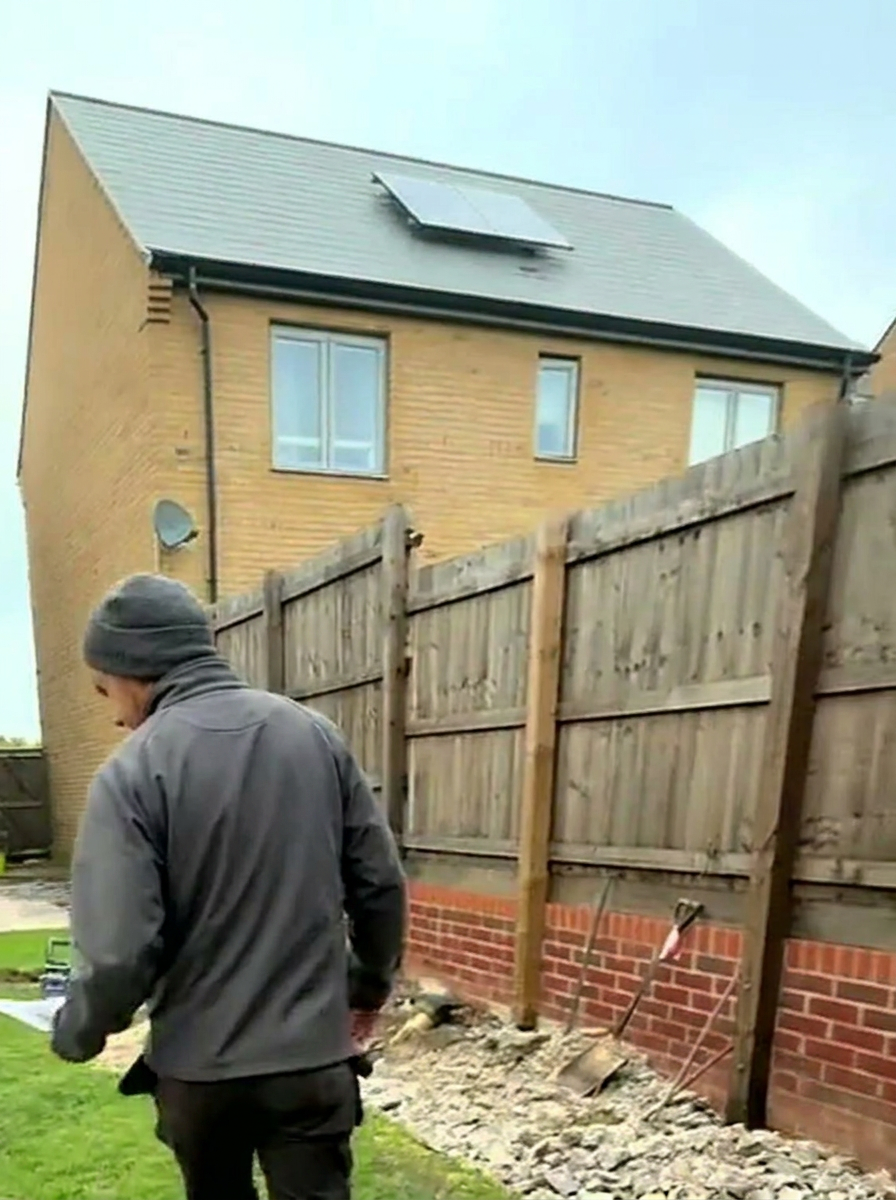
The garden had been left compacted in places and soft in others. The full route was dug out and rebuilt on a consistent permeable base rather than patched to level.
Resin Path & Porcelain Inlay — Cockermouth
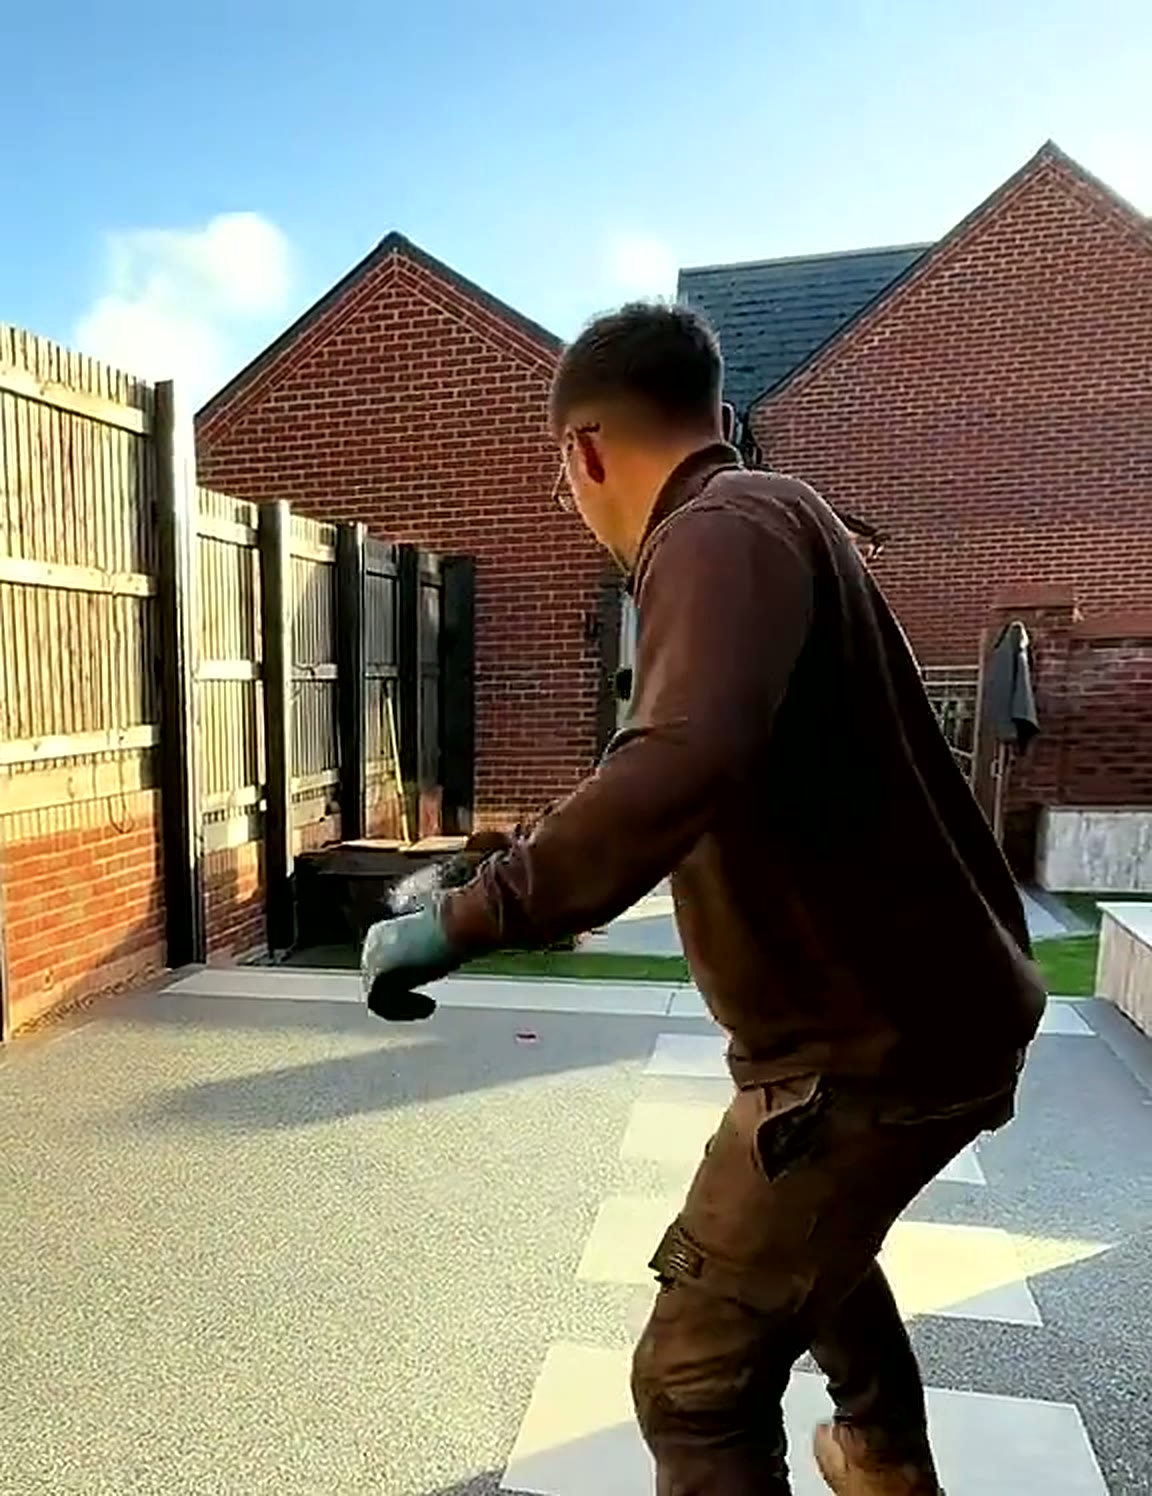
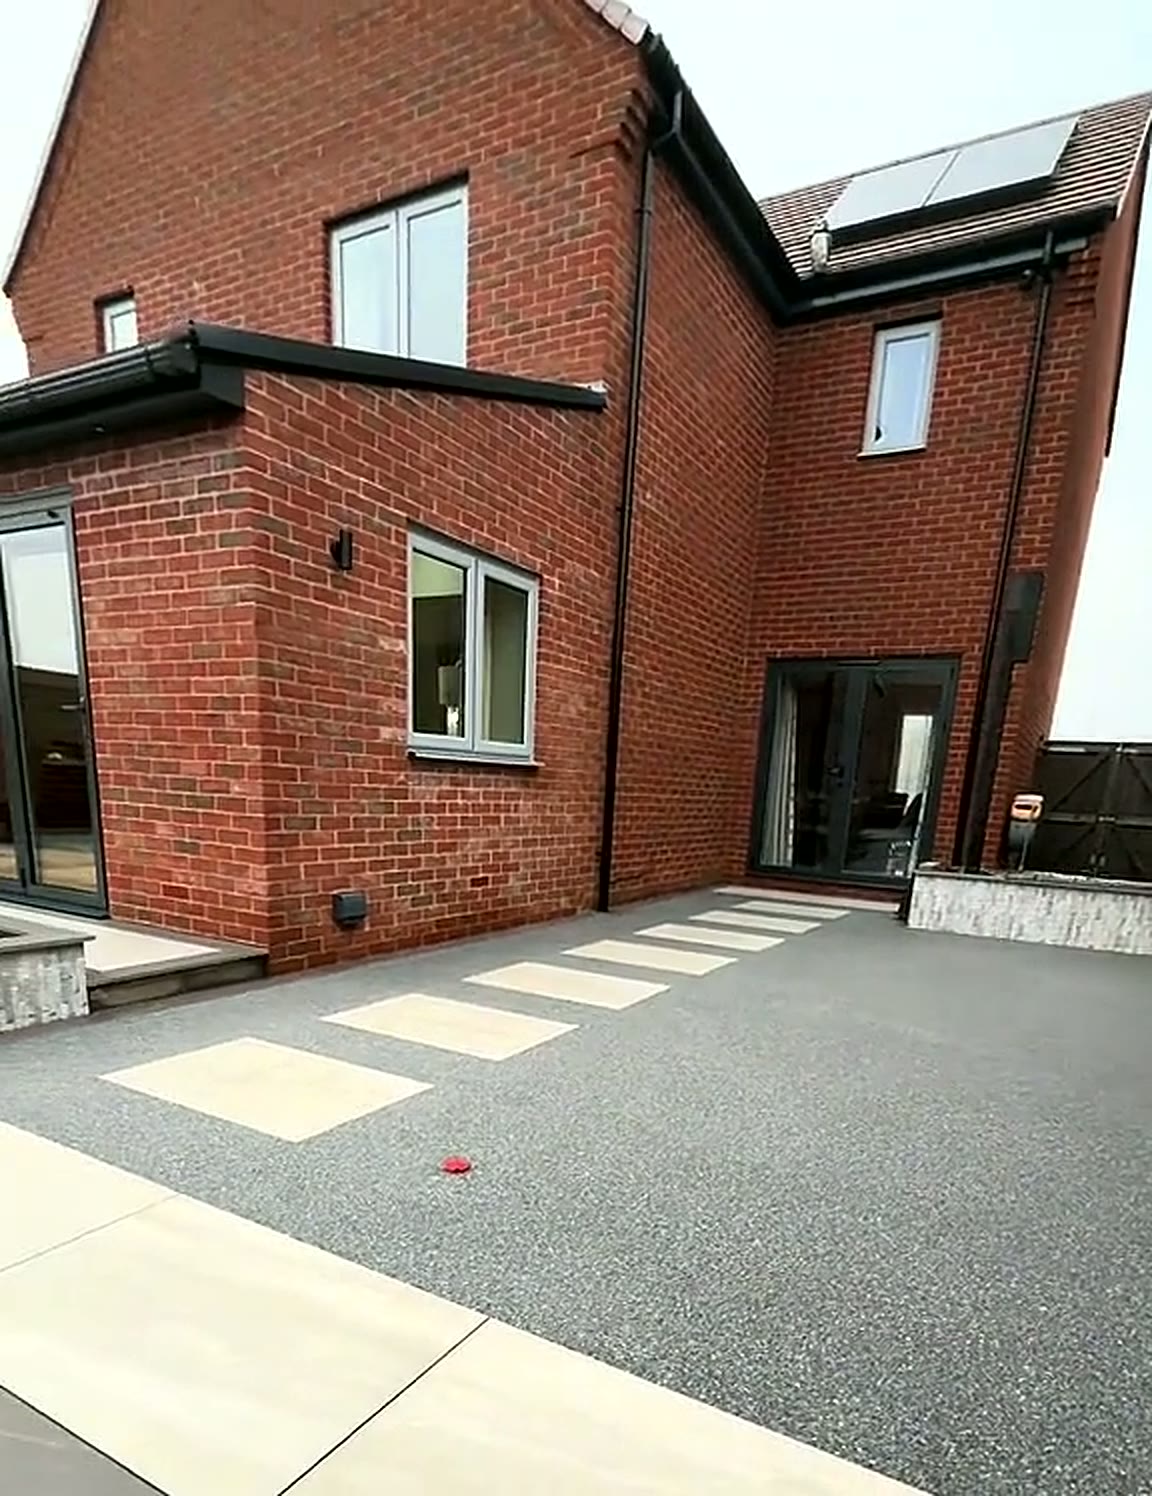
A new-build rear garden with bare, rutted ground turned into a continuous resin bound path with inlaid porcelain slabs — a single surface that runs from the side gate, past the patio doors and around the corner of the house.
New-build gardens rarely arrive finished. This one was builders' ground: uneven, poorly drained and cut off from the side gate by a strip of mud that the family walked through every day.
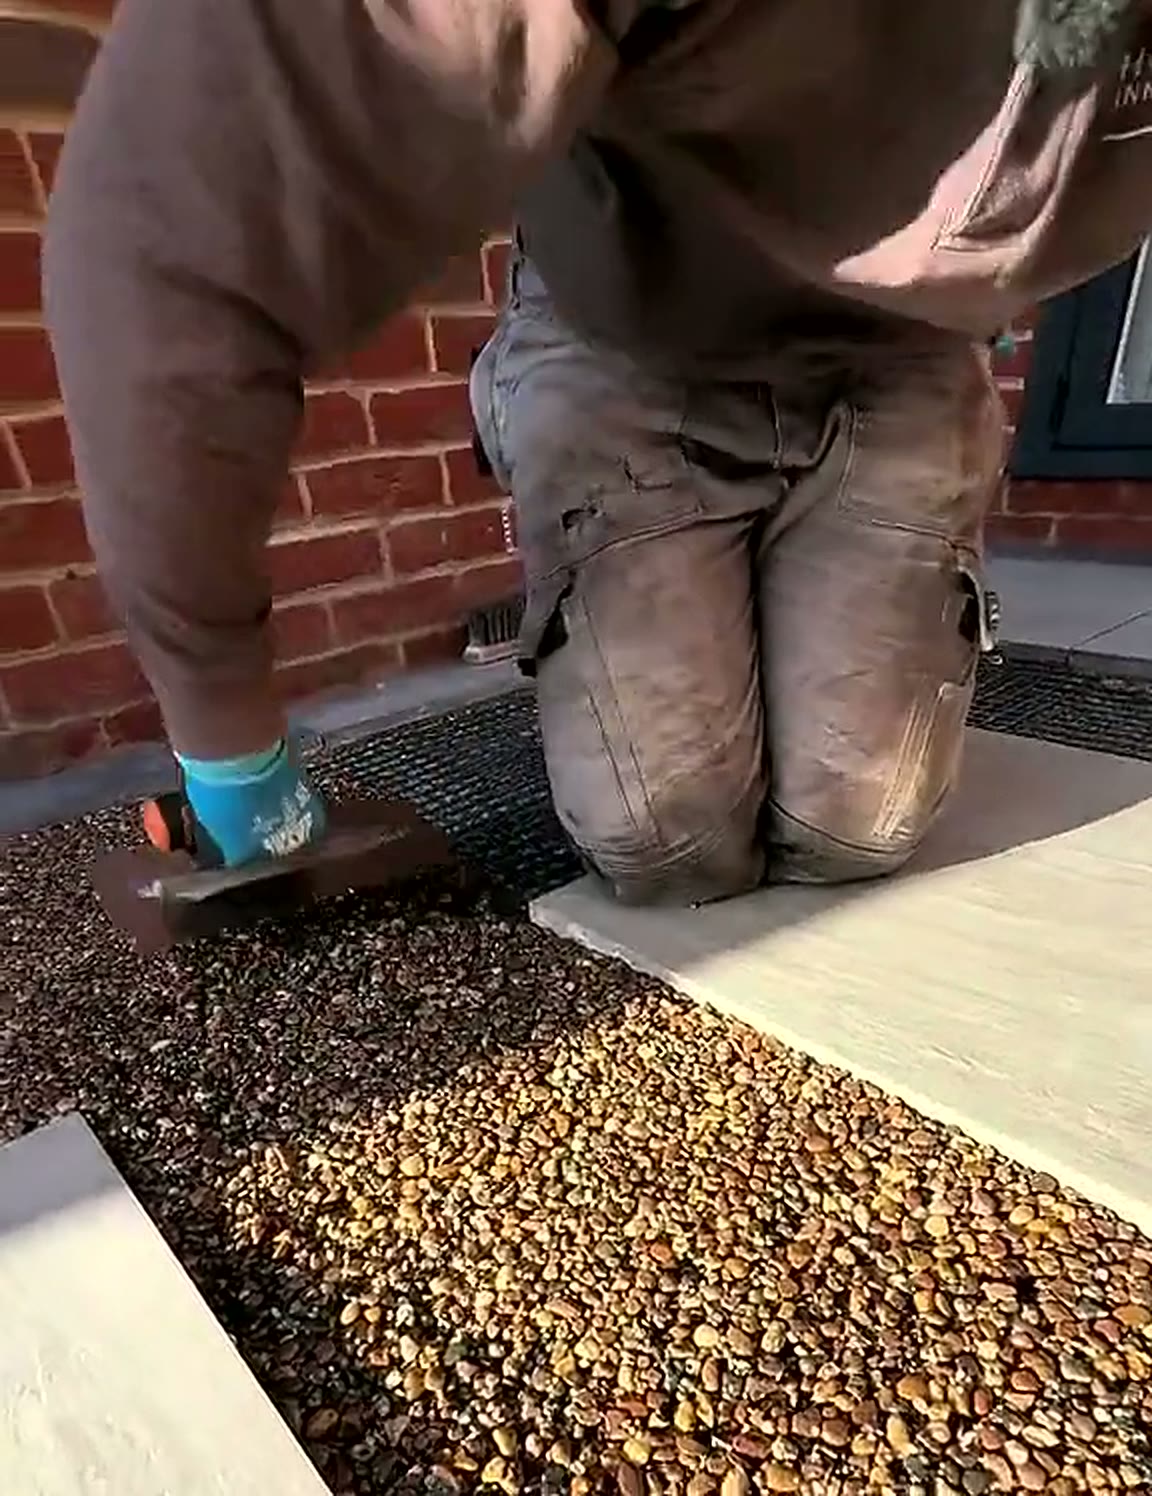
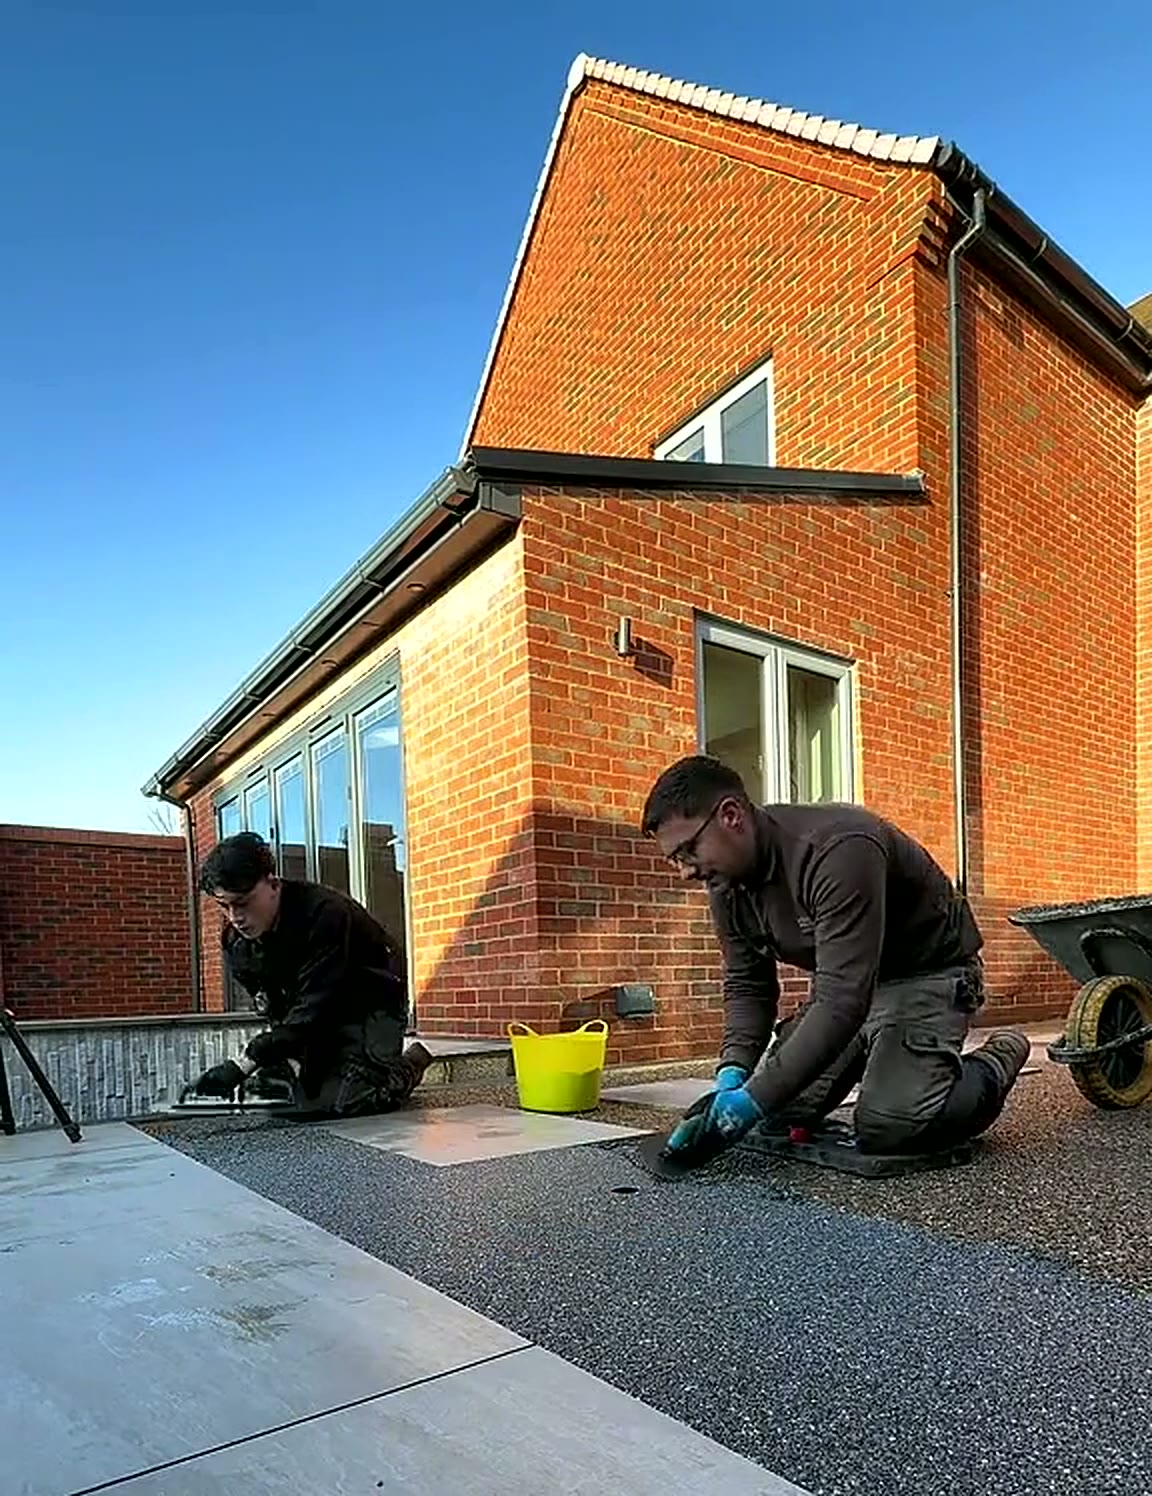
Rather than lay a separate path, patio and threshold, the whole route was treated as one surface. Porcelain slabs were set into the line of travel at a regular rhythm, with resin bound aggregate poured around them so the two materials finish dead flush.
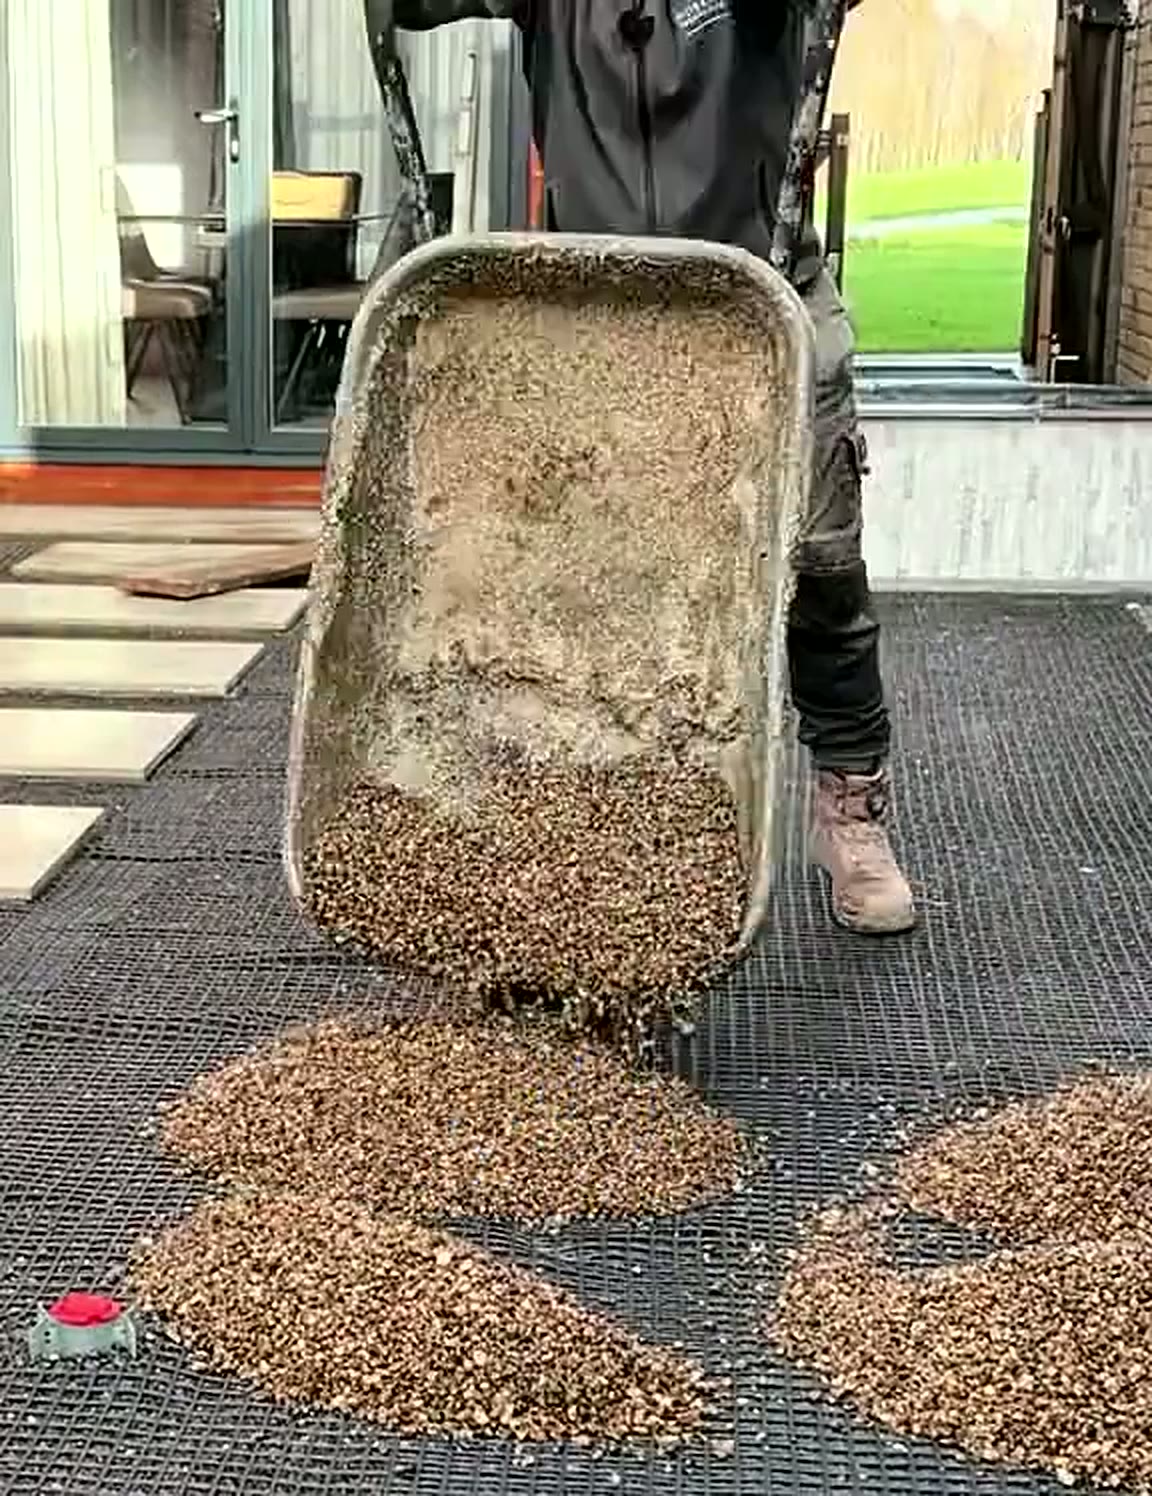
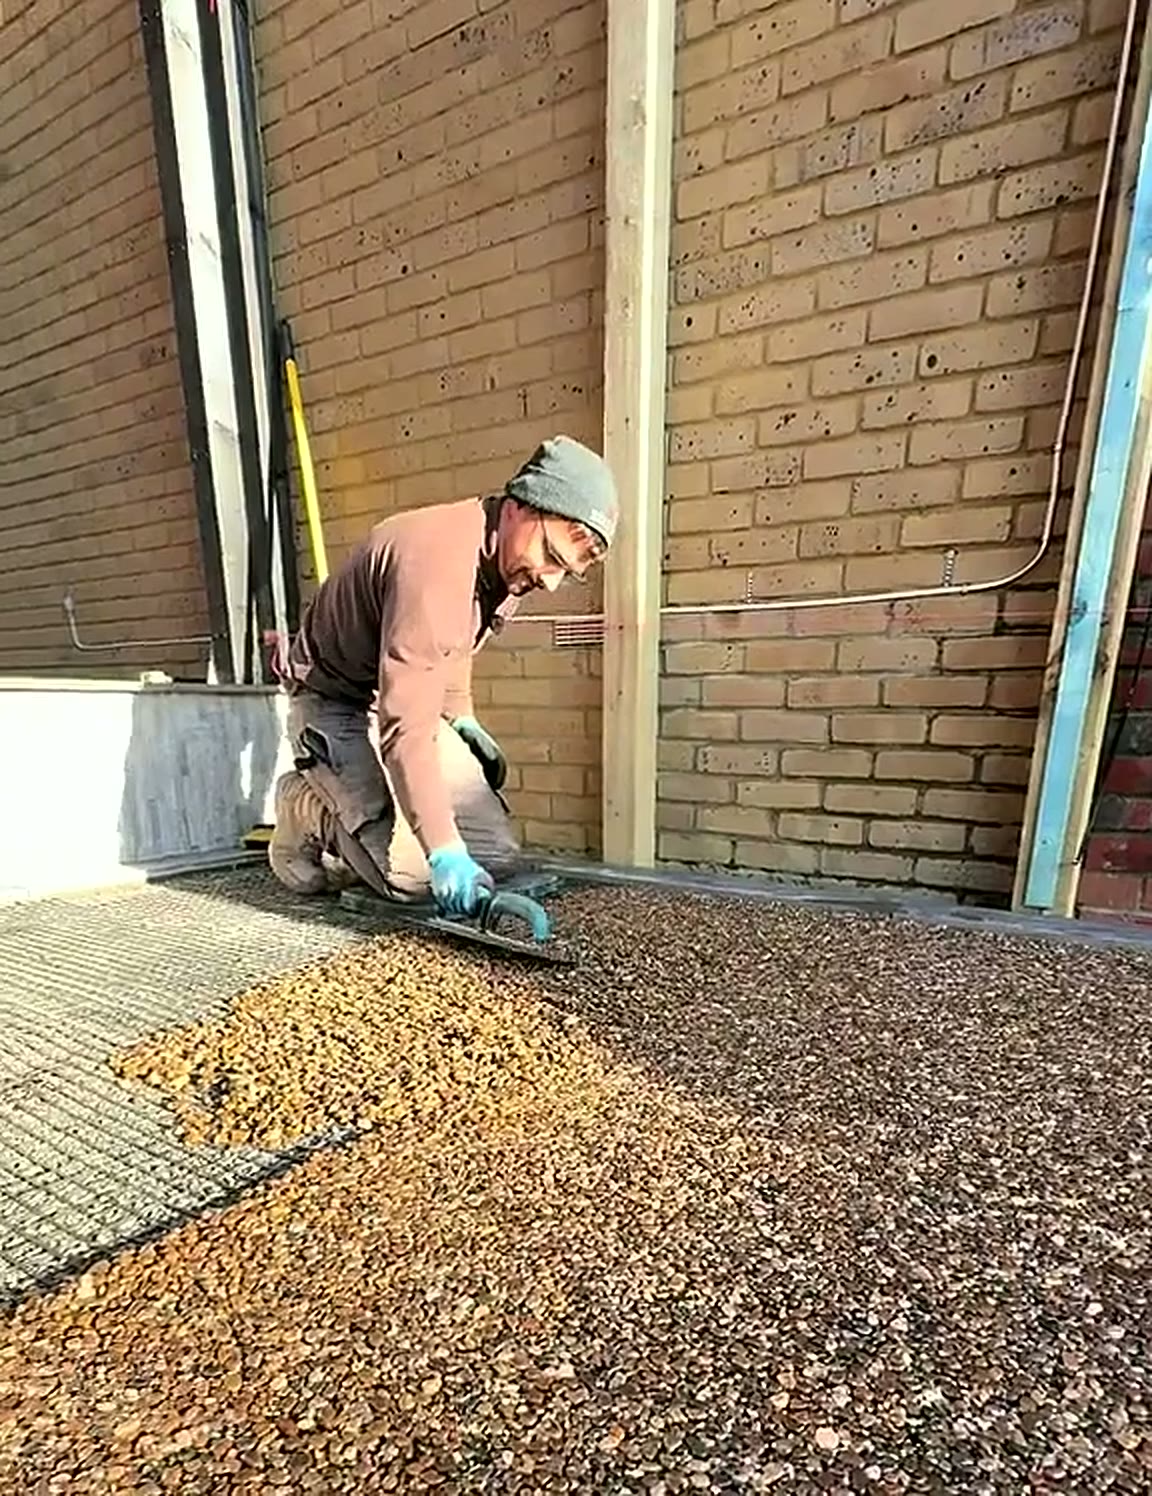
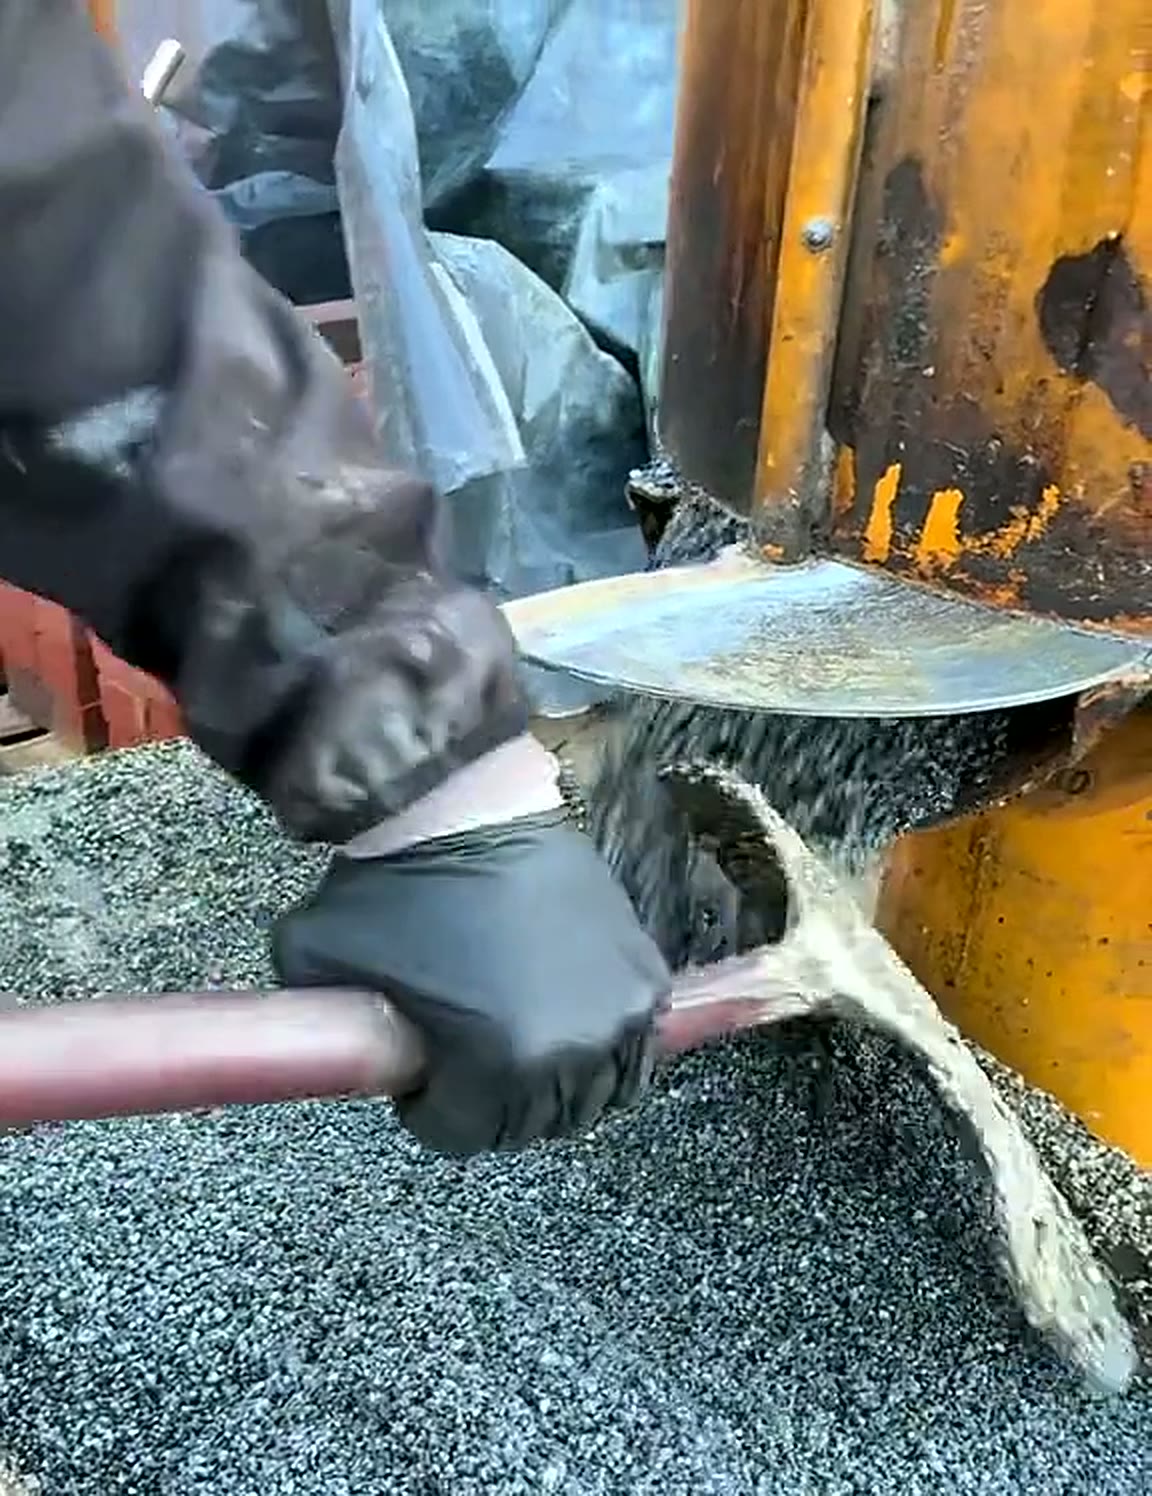
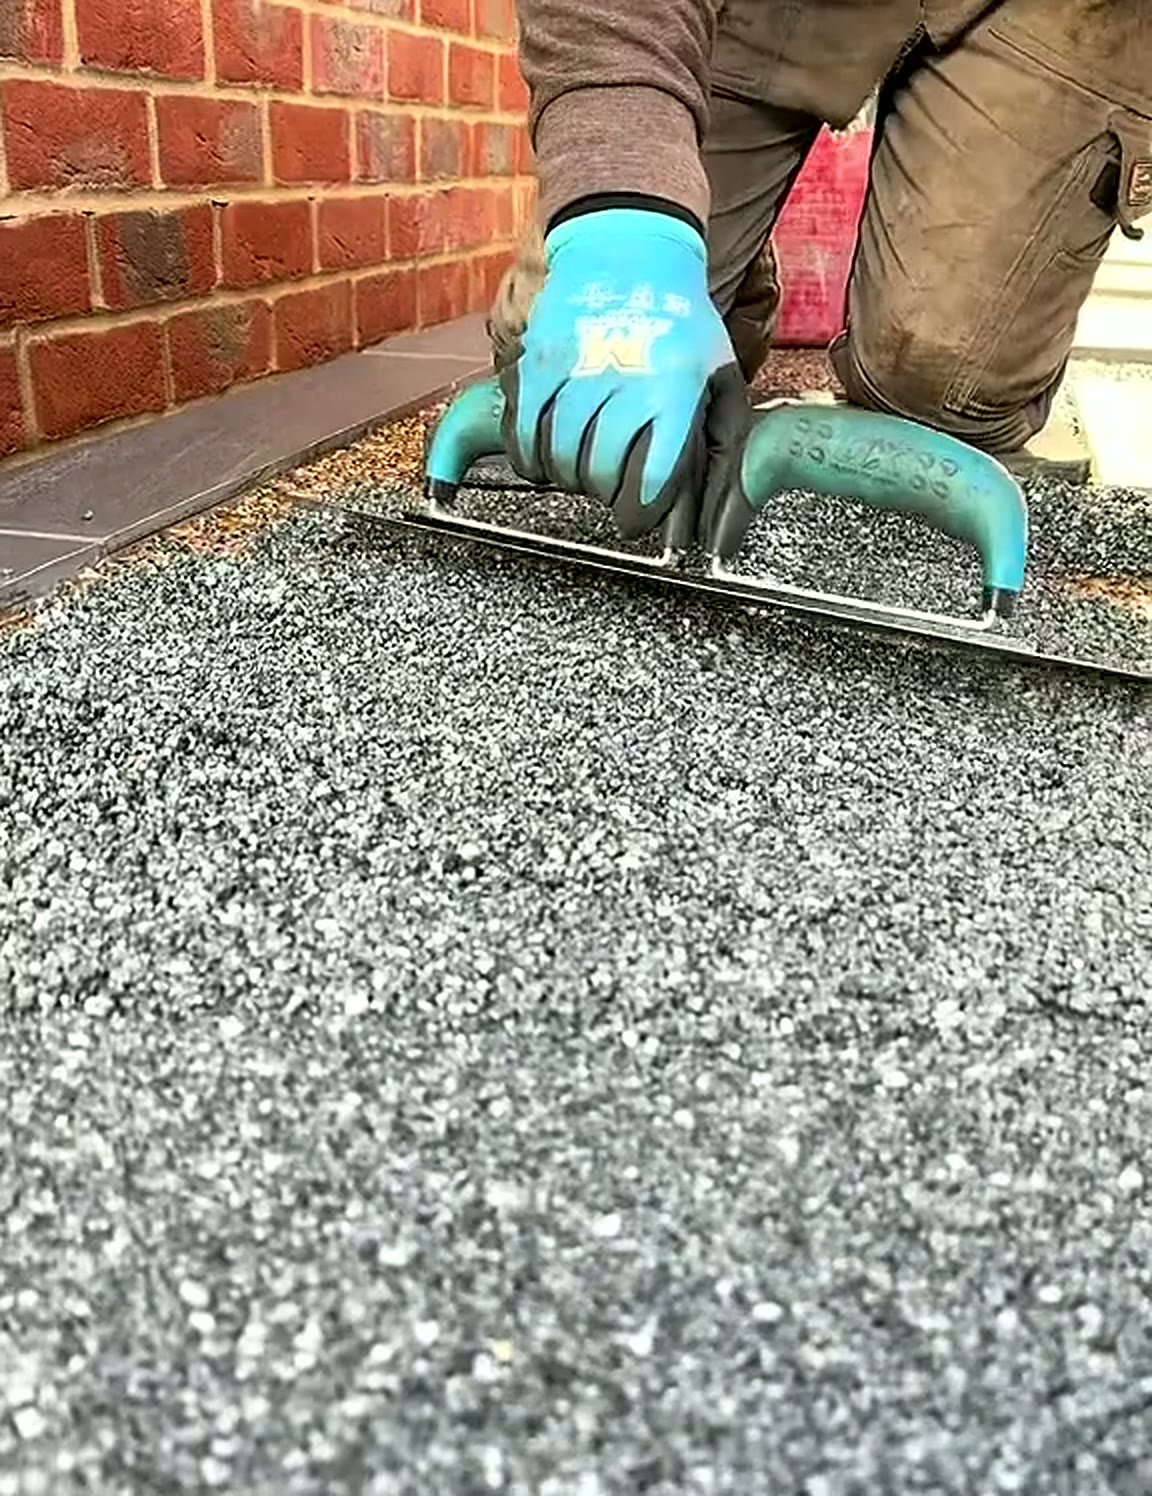
The base was prepared and gridded before a single barrow of aggregate arrived. Resin and stone were forced-action mixed on site in timed batches, tipped out, spread by hand and then screeded and trowelled while workable — the porcelain masked and worked around slab by slab.
The finished surface is seamless, permeable and quietly graphic: pale porcelain reading against a mid-grey blend, following the natural walking line rather than cutting across it.
What we solved
The garden had been left compacted in places and soft in others. The full route was dug out and rebuilt on a consistent permeable base rather than patched to level.
Everything came through a single gate by barrow. Mixing was staged close to the pour, and boards were used to protect the new turf and existing brickwork throughout.
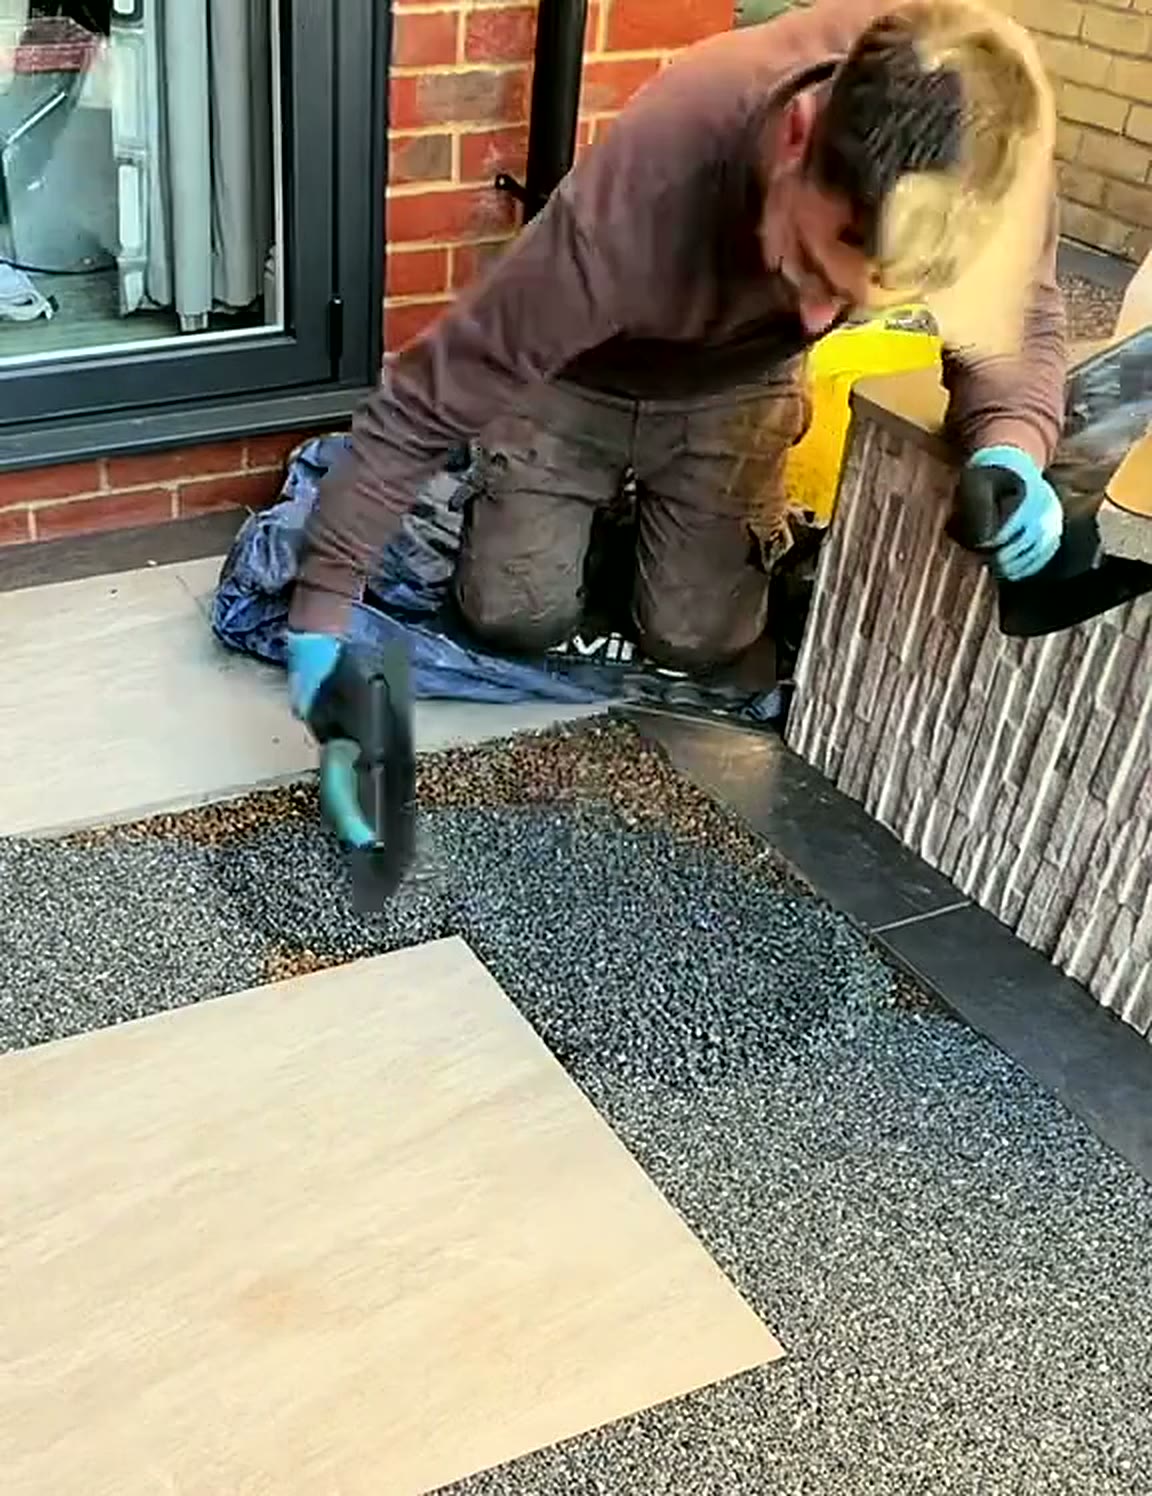
Porcelain and resin cure and sit differently. Each slab was bedded and levelled first, then the resin brought up and trowelled tight to the edge so there is no lip to catch a foot or a pushchair.
Installation timeline
Route set out with the family, existing turf and brickwork protected, levels taken from the door threshold.
Soft, rutted ground dug out along the full run and spoil barrowed out through the side gate.
Open-graded stone laid and compacted in layers, then blinded to a true, free-draining surface.
Falls carried away from the house, with the permeable build-up handling surface water in place of channels.
Ivory slabs bedded, levelled and spaced to a consistent module along the walking line.
Resin and aggregate mixed in timed batches, tipped, spread by hand and screeded to depth around each slab.
Edges, upstands and slab junctions trowelled flush, then the porcelain cleaned back by hand.
Surface left to cure, garden swept and cleared, and aftercare walked through with the owners.
From the film
We'll walk the space with you, talk through build-up, drainage and finish, and leave you with a clear plan — no pressure, no obligation.
Prefer to browse first?Request our complimentary brochure