Porcelain Patio & Terrace — Bowness-on-Windermere

A porcelain terrace bedded, primed and laid slab by slab

A tired rear garden rebuilt as a calm, light-toned porcelain terrace — laid on a full mortar bed, every slab slurry primed on its underside, cut to fit the boundary and levelled by hand so the finished surface reads as one flat, seamless plane.

Installation film — mortar bed, slurry priming and slab by slab laying0:06

This was a garden that had never really been usable. The ground behind the house was uneven, part gravel and part bare sub-base, and the family had stopped going out there because there was nowhere flat to put a table.

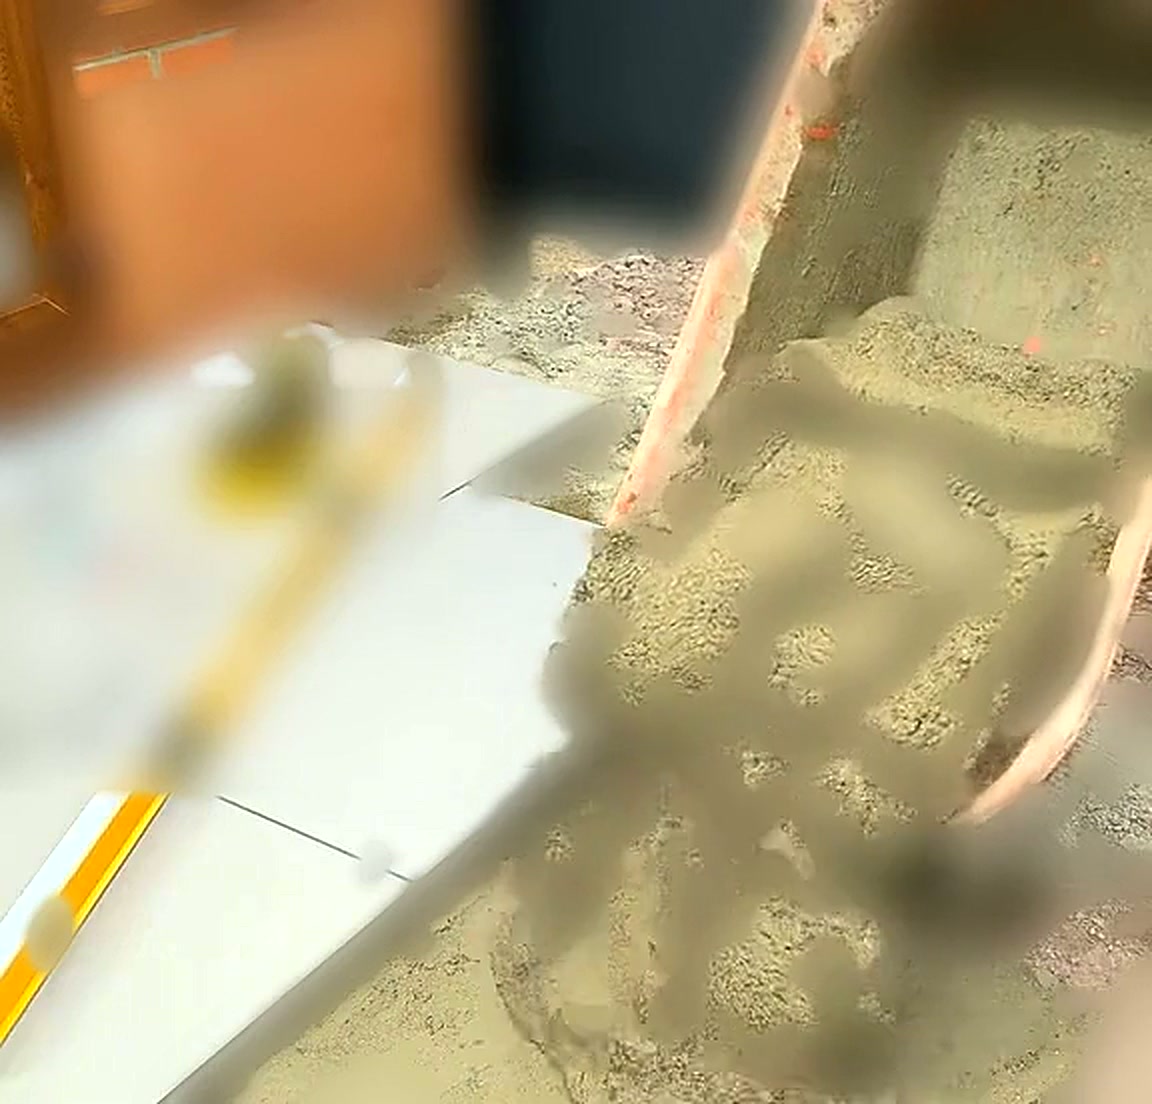
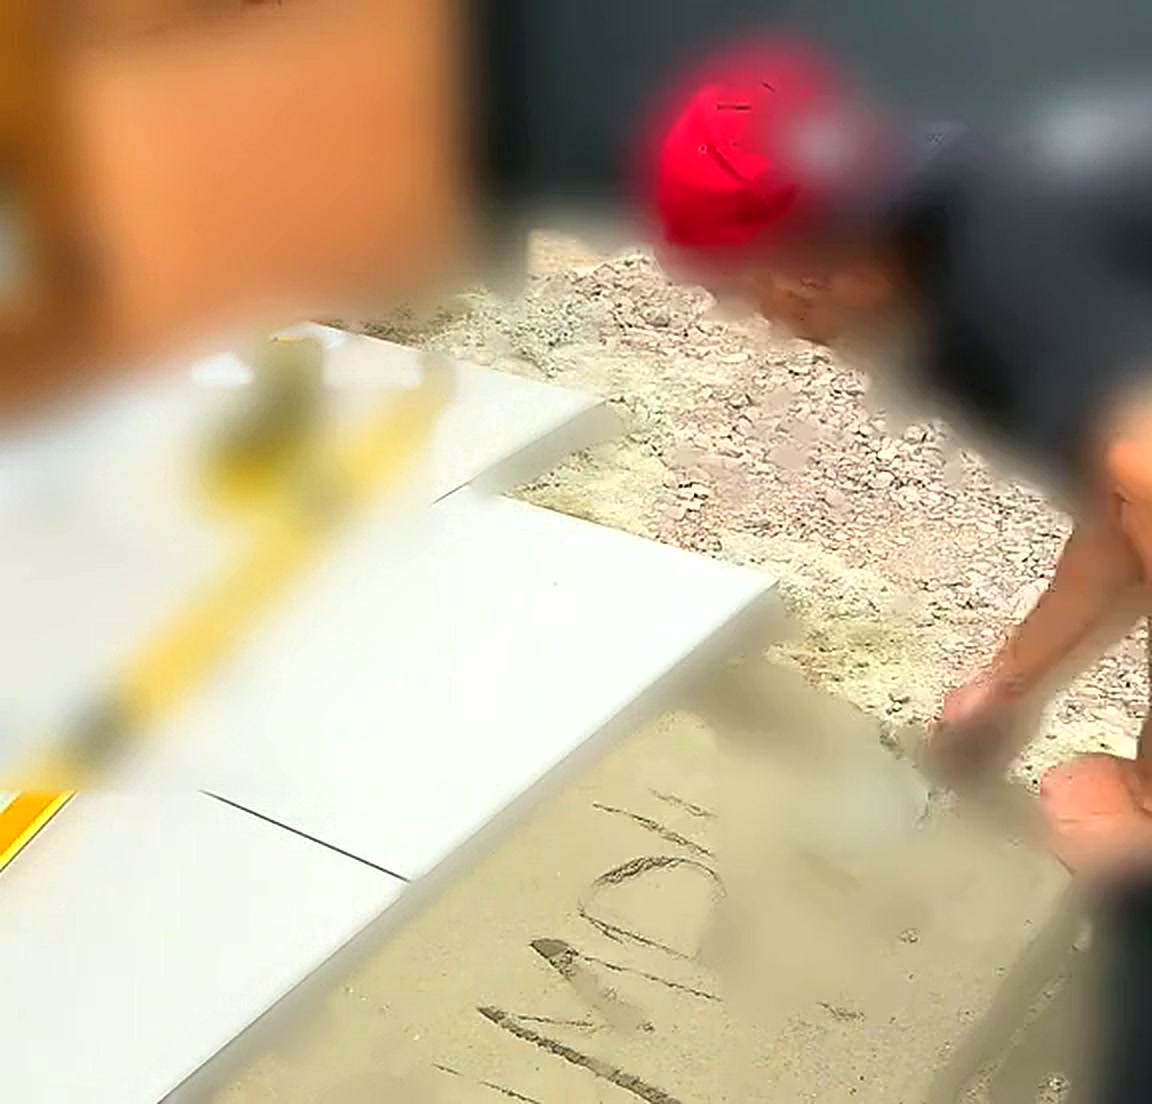
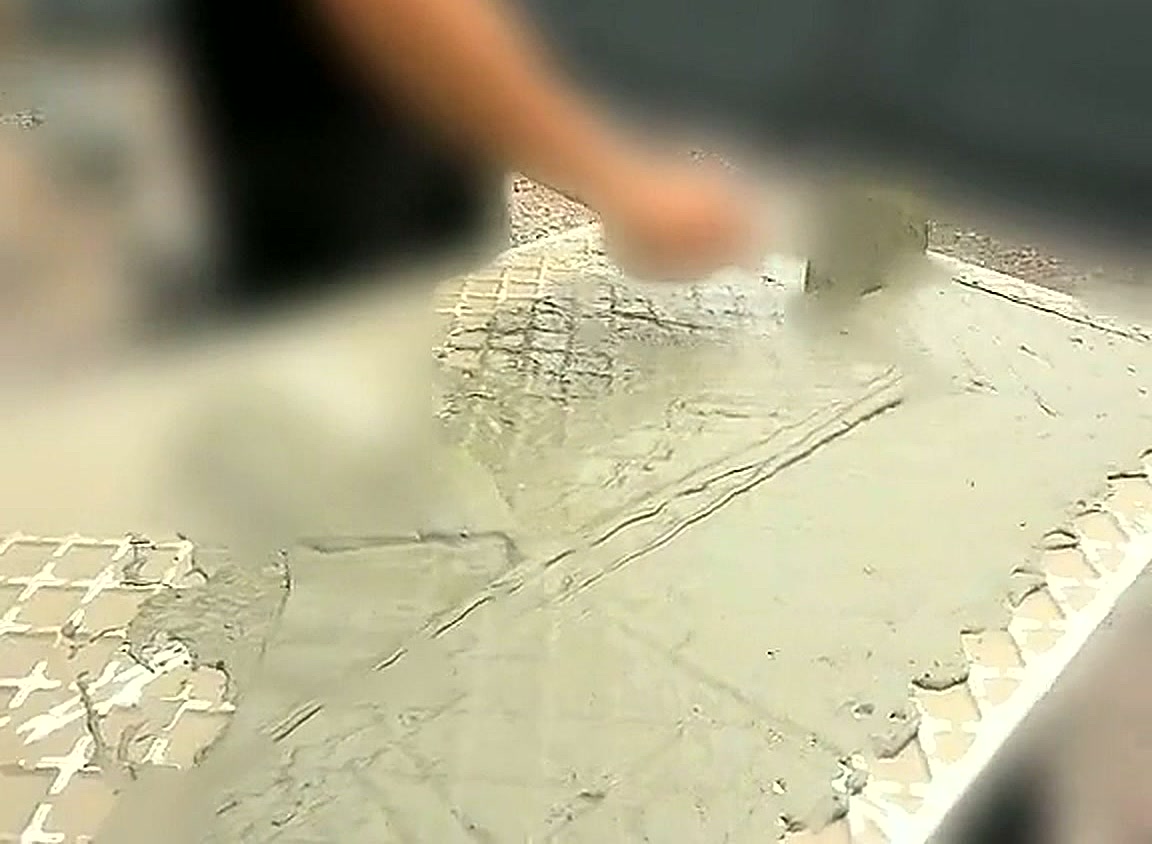
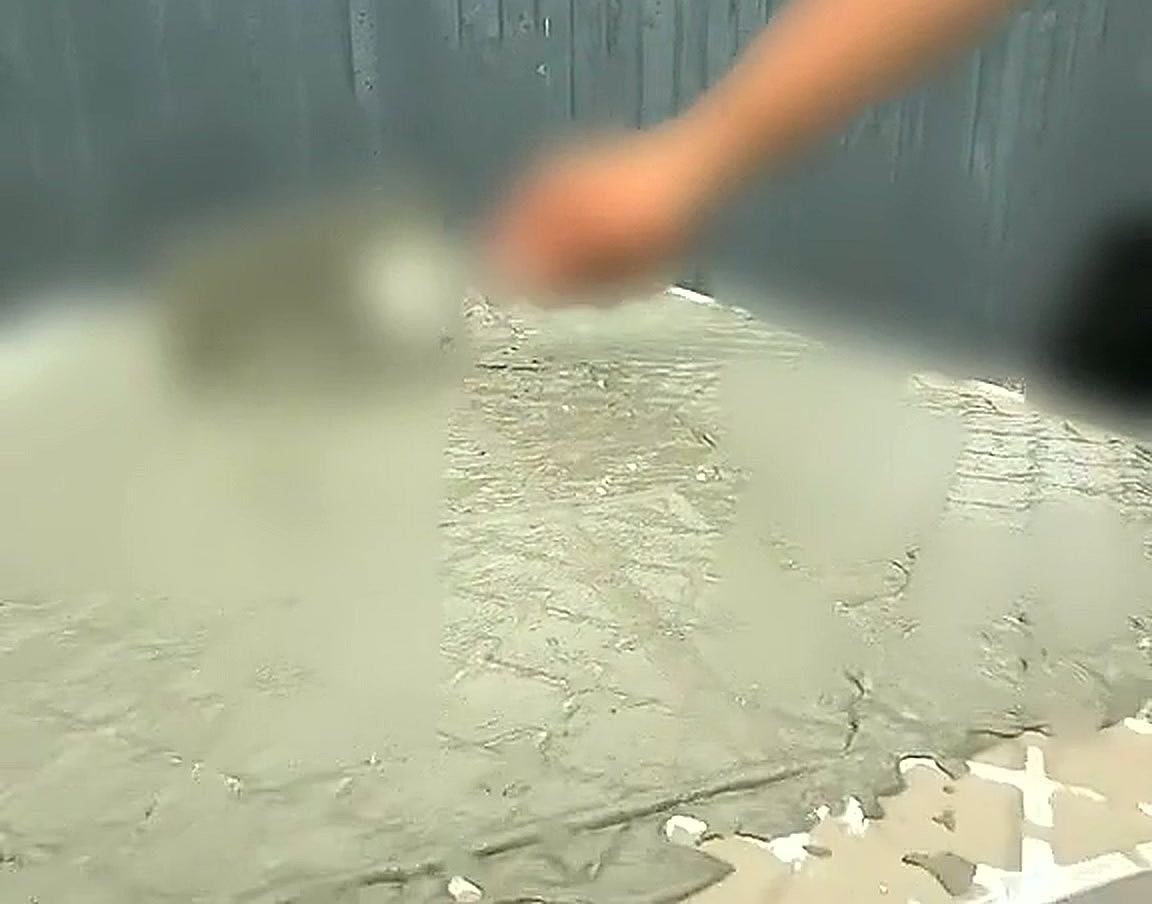
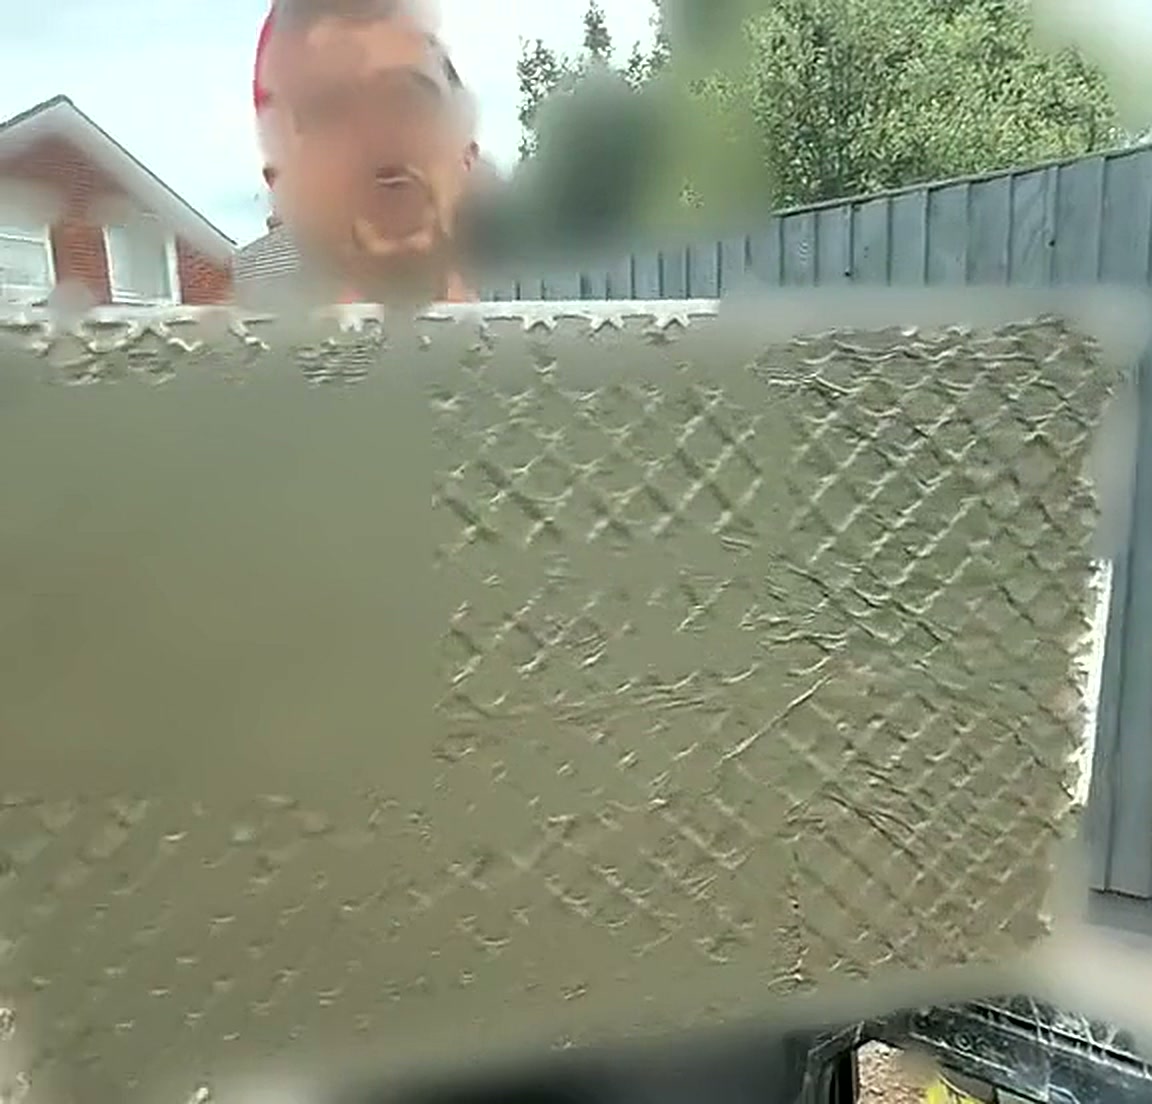
The build begins where every good patio begins — beneath the slab. A full mortar bed is mixed and screeded out across the prepared formation, worked to an even depth and set to a gentle fall away from the house, so nothing is bridged and no slab is bedded on five dabs of mortar.

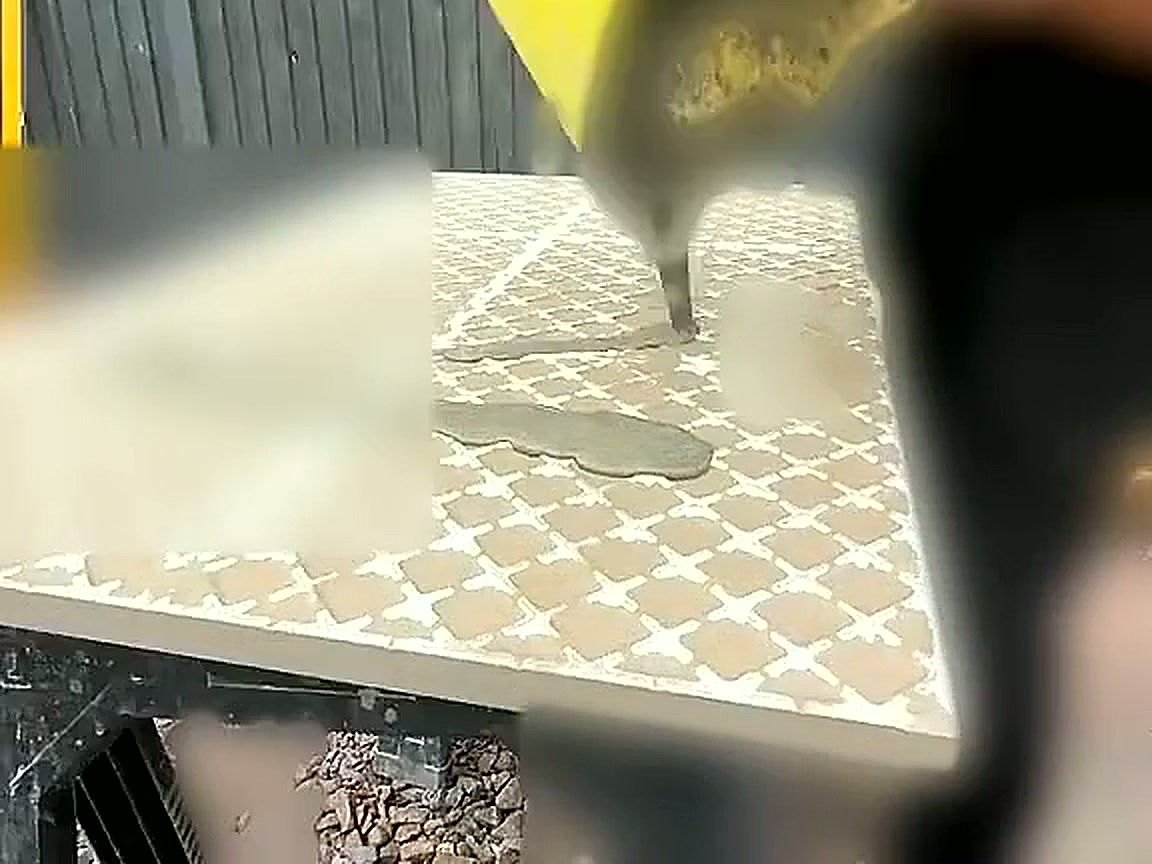
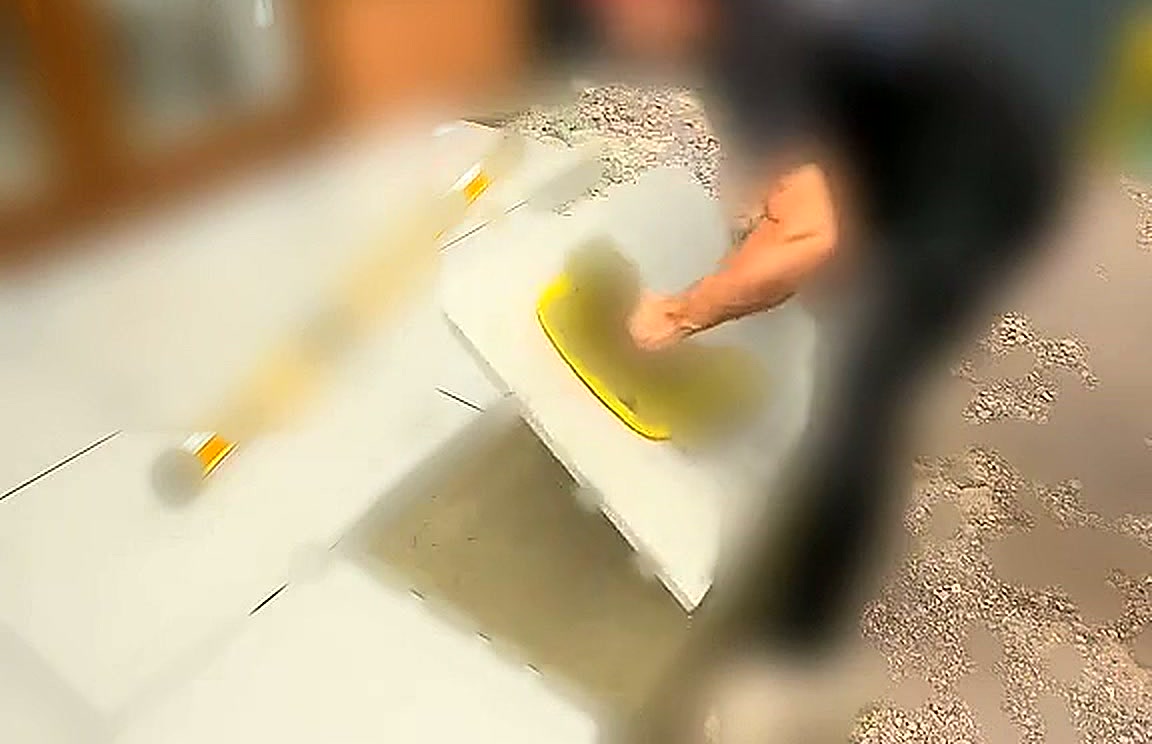
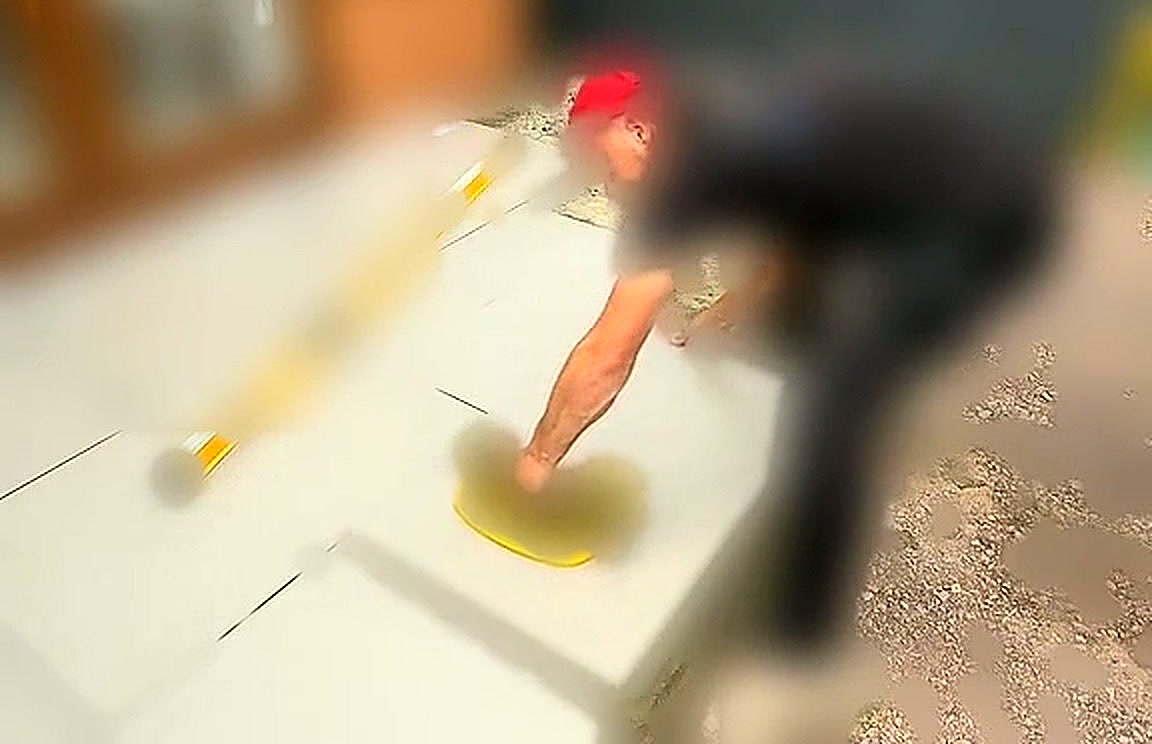
Each porcelain slab is then turned over and primed. A slurry primer is brushed and worked across the whole underside — the step most often skipped, and the single biggest reason porcelain patios come loose. Porcelain is close to non-porous, so without primer the mortar has almost nothing to grip.

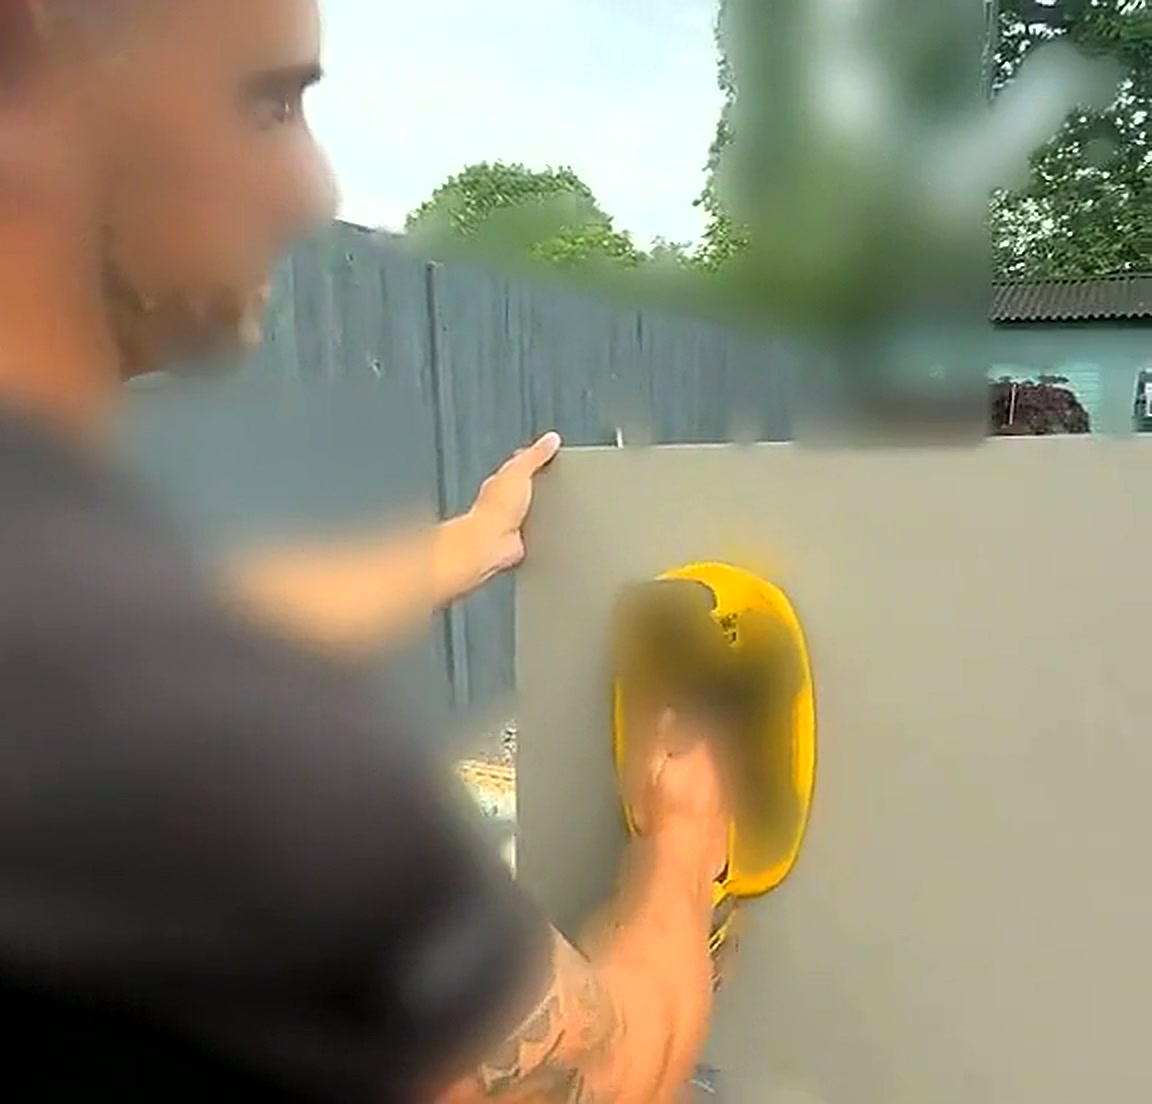
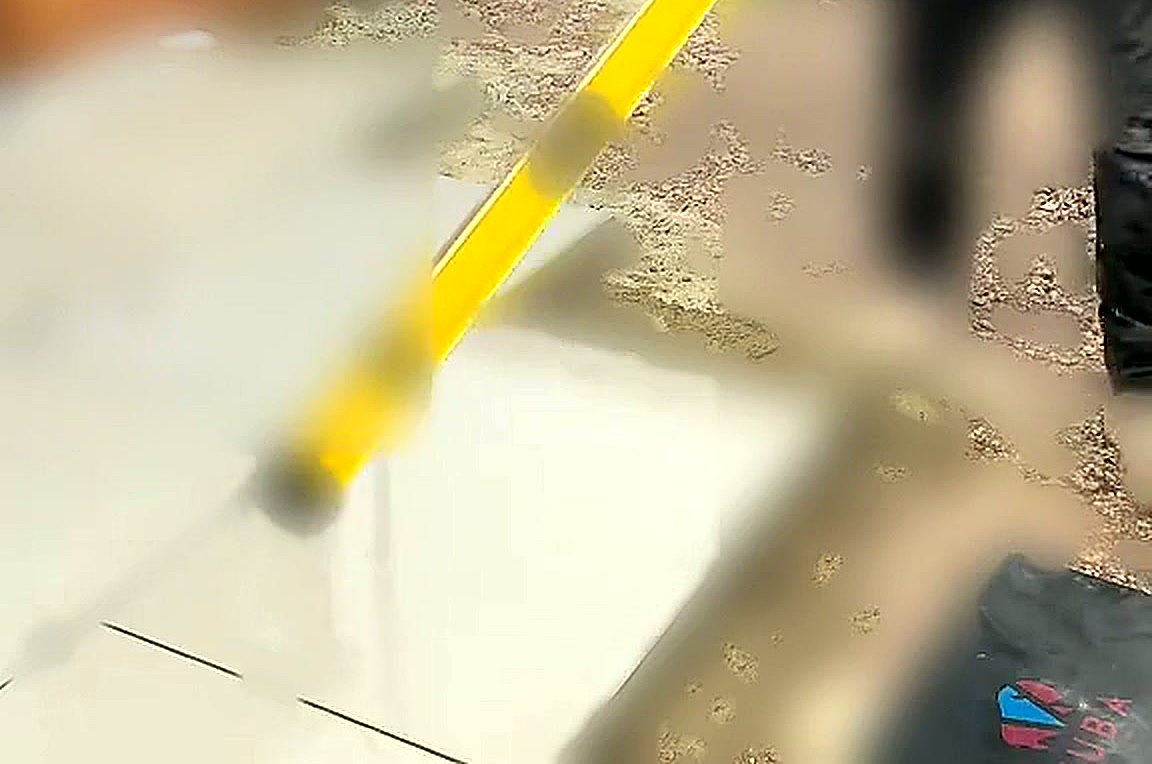
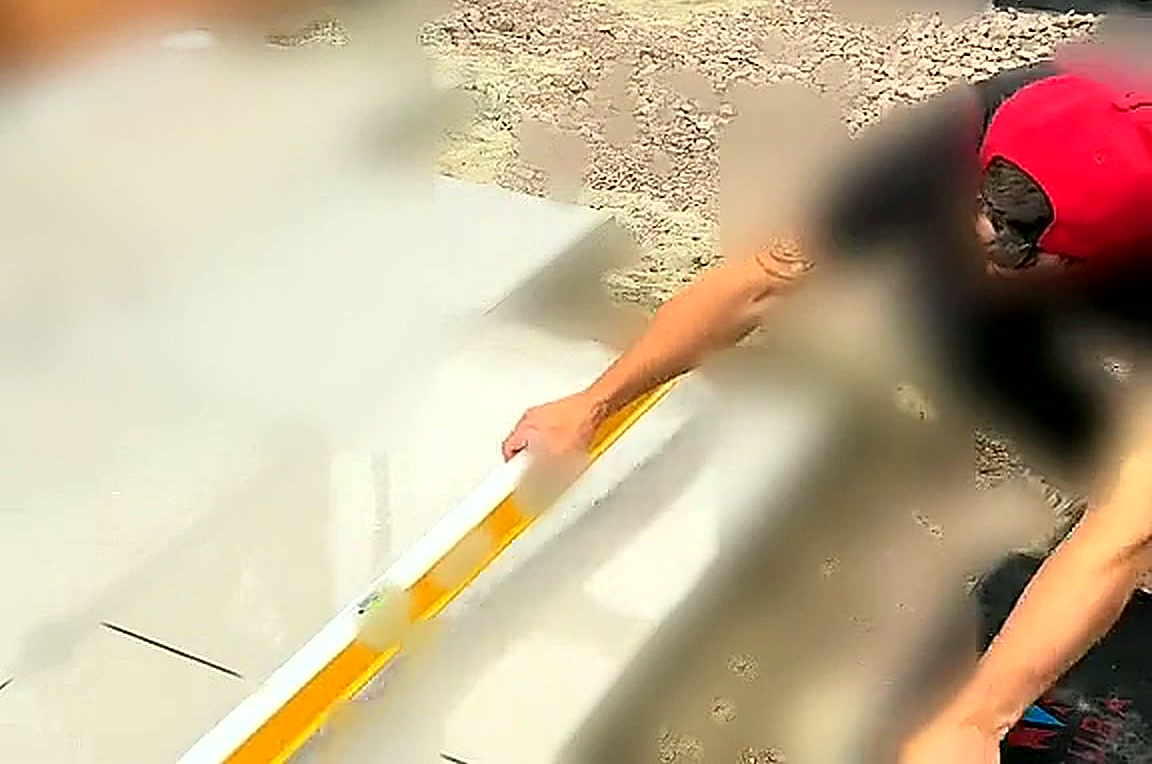
The slabs are lifted in, tapped down onto the wet bed and brought to the line. Joints are set consistently, and each slab is checked against the run before the next one goes in. Where the terrace meets the boundary fence and the house wall, slabs are measured and cut so the perimeter finishes on a full, deliberate line rather than a sliver.

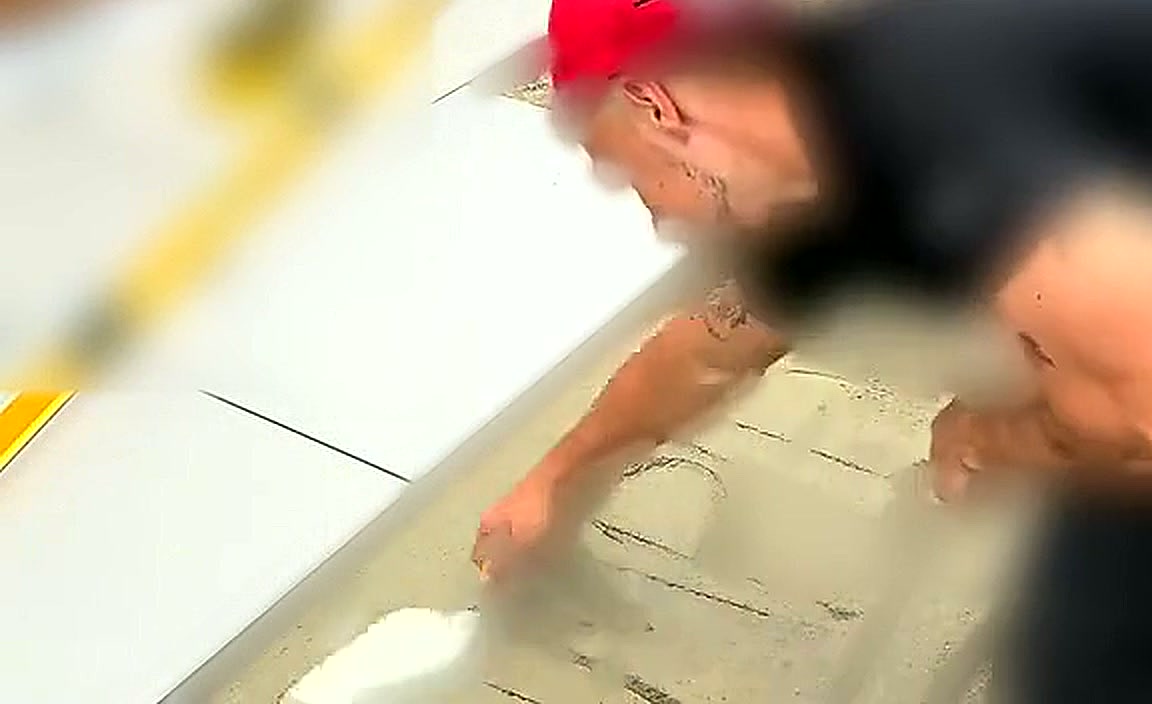
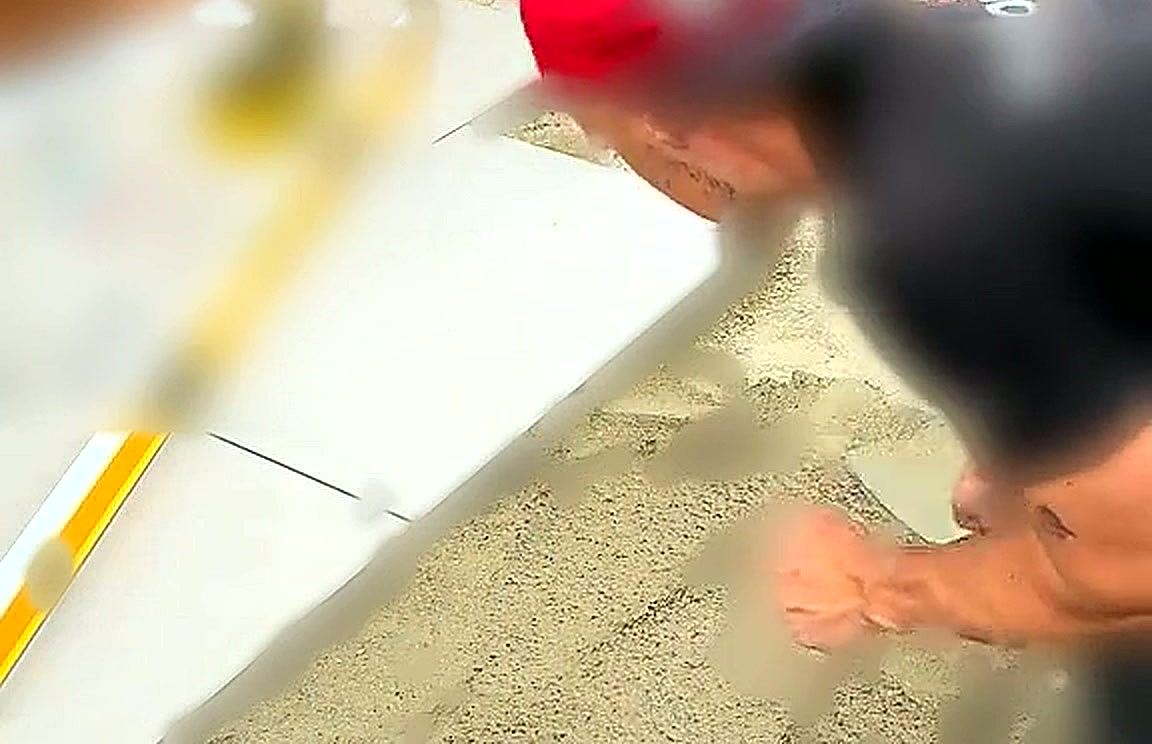
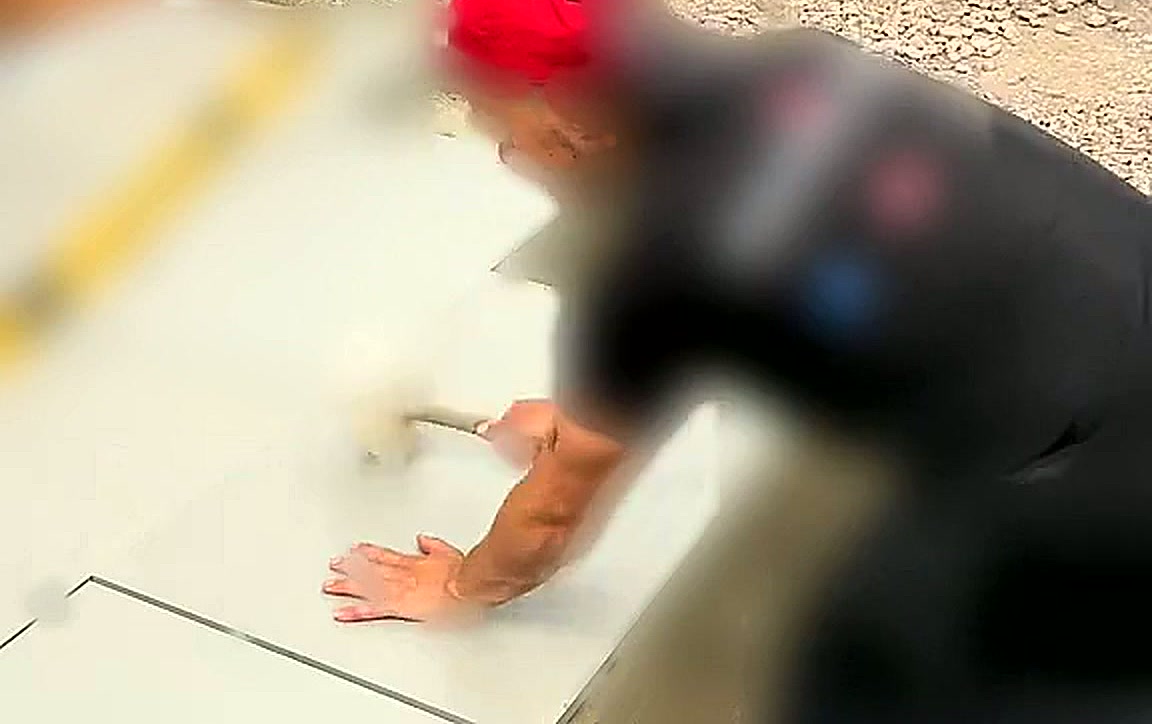
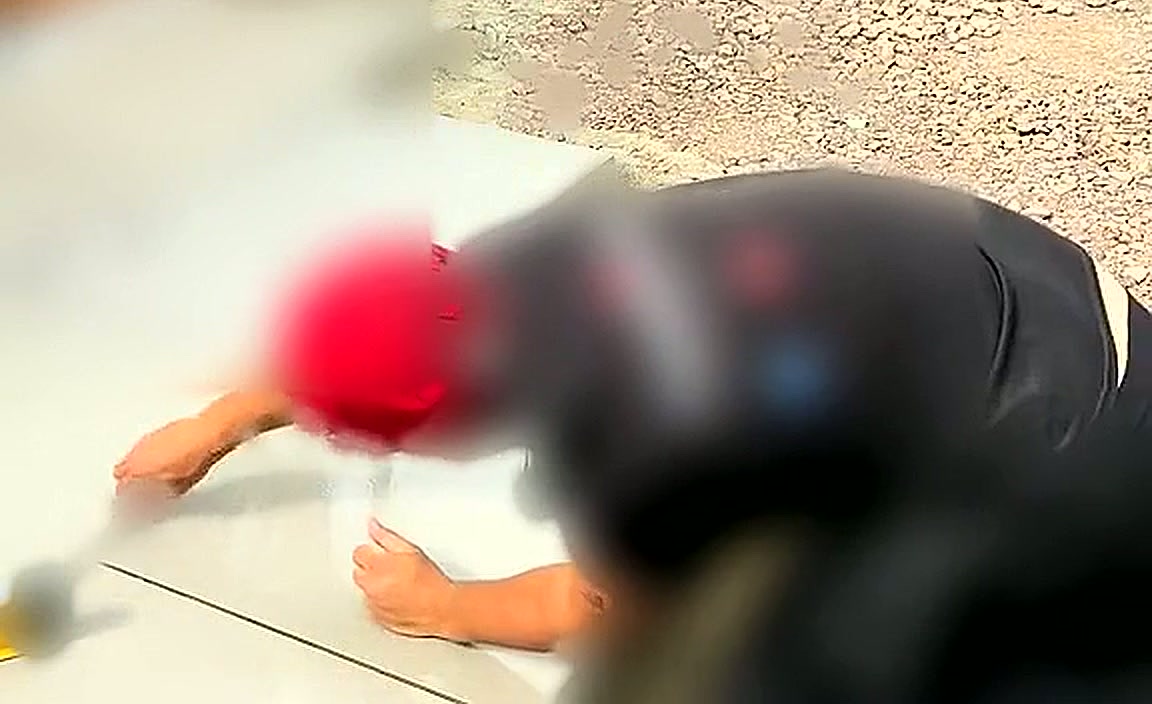
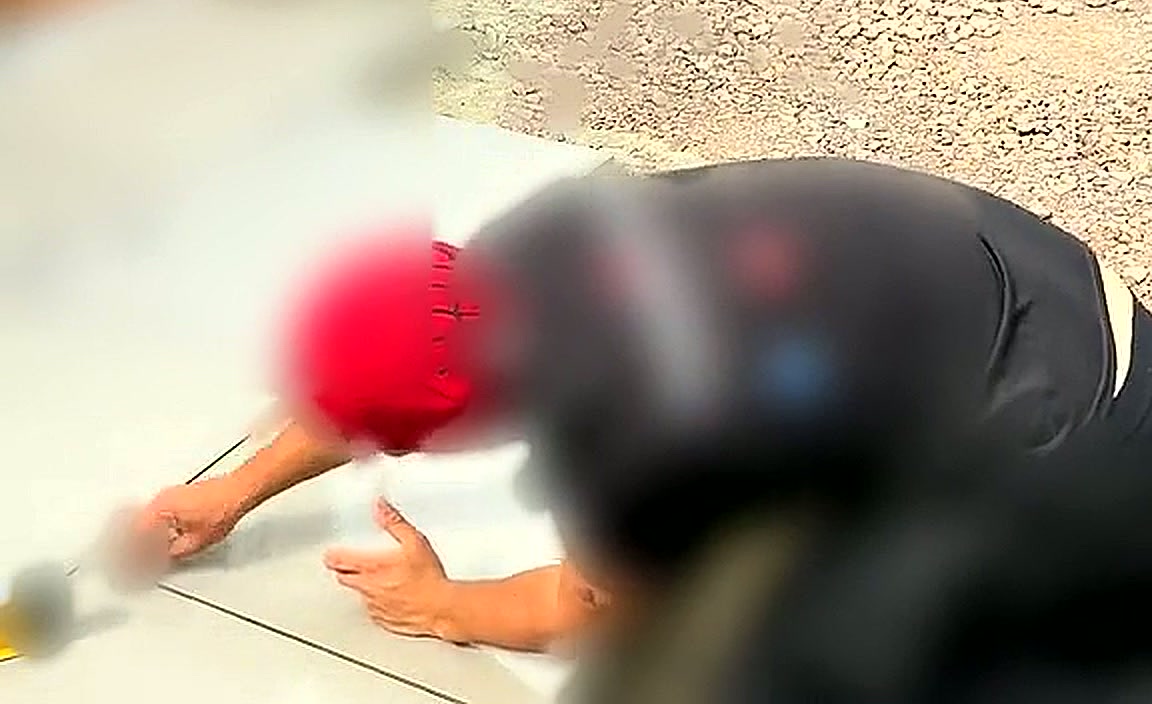
The final stage is patient rather than dramatic: working across the finished surface on the knee, easing individual slabs, checking levels along and across the terrace, and cleaning the face of every slab before the mortar can set on it.

Service
Porcelain Patio & Terrace
Location
Bowness-on-Windermere
On site
4 working days on site
Finish
Light sand-tone porcelain, laid flat and level on a full mortar bed
Investment
Comparable investment: £6,500 – £9,000
Installed
May 2026
Project type
Rear garden porcelain terrace
Size
Approximately 42m²

What we solved

The problems that decide how a driveway ages.

01

An uneven, part-made formation

The existing ground varied in level across the whole terrace area. Rather than chase it with mortar depth, the formation was trimmed and consolidated first, then bedded in a single continuous screed so every slab sits on full support.

02

Getting porcelain to bond properly

Porcelain barely absorbs anything, so mortar alone will not hold it. Every slab was slurry primed across its full underside immediately before laying — slower on site, but the difference between a terrace that lasts and one that rocks in two winters.

03

Finishing tight to the boundary

The terrace runs up to a fence line and the house wall, neither of which was perfectly square. Perimeter slabs were measured individually and cut on site so the edges read as an intended line instead of a row of thin off-cuts.

Installation timeline

Five days, stage by stage.

  1. Stage 01

    01 — Initial Site Preparation

    The terrace area is set out, the existing surface cleared, and access protected so materials can be moved through the garden without damaging planting or lawn.

  2. Stage 02

    02 — Excavation & Formation

    The ground is taken down to a consistent depth and trimmed, allowing for the slab thickness, the full mortar bed and the finished level relative to the house.

  3. Stage 03

    03 — Sub-base Construction

    Compacted stone is worked out across the full terrace footprint so the bed sits on something solid rather than soft, made ground.

  4. Stage 04

    04 — Setting Levels & Falls

    Levels are pulled off the house and a gentle fall set away from the wall, so surface water leaves the terrace rather than collecting against the building.

  5. Stage 05

    05 — Mortar Bed

    A full sand and cement bed is mixed and screeded out to an even depth — the whole slab supported, not four corners and a dab in the middle.

  6. Stage 06

    06 — Slurry Priming

    Each slab is turned, and a slurry primer is worked across the entire underside so the porcelain and the mortar bond chemically as well as mechanically.

  7. Stage 07

    07 — Slab Laying

    Slabs are lifted into the wet bed, tapped down to level and brought tight to the line, with joints set to a consistent width across the terrace.

  8. Stage 08

    08 — Cutting & Perimeter Detail

    Slabs meeting the fence line and the house wall are measured and cut individually so the terrace finishes on full, deliberate edges.

  9. Stage 09

    09 — Levelling & Jointing

    The finished surface is checked along and across, individual slabs eased where needed, and joints filled and struck to a clean, even line.

  10. Stage 10

    10 — Final Clean & Completed Terrace

    Slab faces are washed down before anything can cure on them, tools and waste removed, and the terrace handed back as a flat, finished outdoor room.

  • A level, usable outdoor room where there was previously no flat ground
  • Full-bed, primed installation — no hollow slabs, no movement
  • Water falls away from the house rather than sitting on the terrace
  • A light, low-maintenance surface that cleans with water alone

From the film

Stills from site.

Uneven rear garden ground before the porcelain terrace was laid
The ground as we found it — no flat, usable surfaceBefore
Full sand and cement mortar bed being prepared for porcelain paving
A full mortar bed, mixed and worked out on sitePreparation
Mortar bed being screeded to an even depth across the terrace
Screeded to depth so every slab sits on full supportGroundworks
Installer setting out levels across the prepared mortar bed
Levels set, with a gentle fall away from the houseGroundworks
Slurry primer being applied to the underside of a porcelain slab
Slurry primer worked across the whole undersideConstruction
Primer being spread evenly over the back of a porcelain paving slab
Nothing is missed — porcelain will not bond without itConstruction
Fully primed back of a porcelain slab ready to be laid
A fully coated back, ready to go into the wet bedConstruction
Porcelain slab being cut to fit the terrace perimeter
Perimeter slabs measured and cut individuallyConstruction
Installer lifting a large porcelain slab into position
Large-format slabs lifted in one at a timeInstallation
Porcelain slab being lowered onto the mortar bed
Laid into the bed while the mortar is still liveInstallation
Slab being tapped down onto the mortar bed
Tapped down until it sits dead level with the runInstallation
Joint alignment being checked between two porcelain slabs
Joints set to a consistent width, slab by slabInstallation
Levels being checked across a newly laid porcelain terrace
Checked along and across before moving onFinishing
Joints being finished between light porcelain paving slabs
Joints struck clean while everything is still workableFinishing
Final hand finishing across the completed porcelain surface
The last pass — on the knee, easing every slabFinishing
Completed light-toned porcelain terrace in a Cumbrian rear garden
Flat, light and finally usableCompleted

See what your driveway could become

We'll walk the space with you, talk through build-up, drainage and finish, and leave you with a clear plan — no pressure, no obligation.

Prefer to browse first?Request our complimentary brochure