

Setting out a true circle on open ground
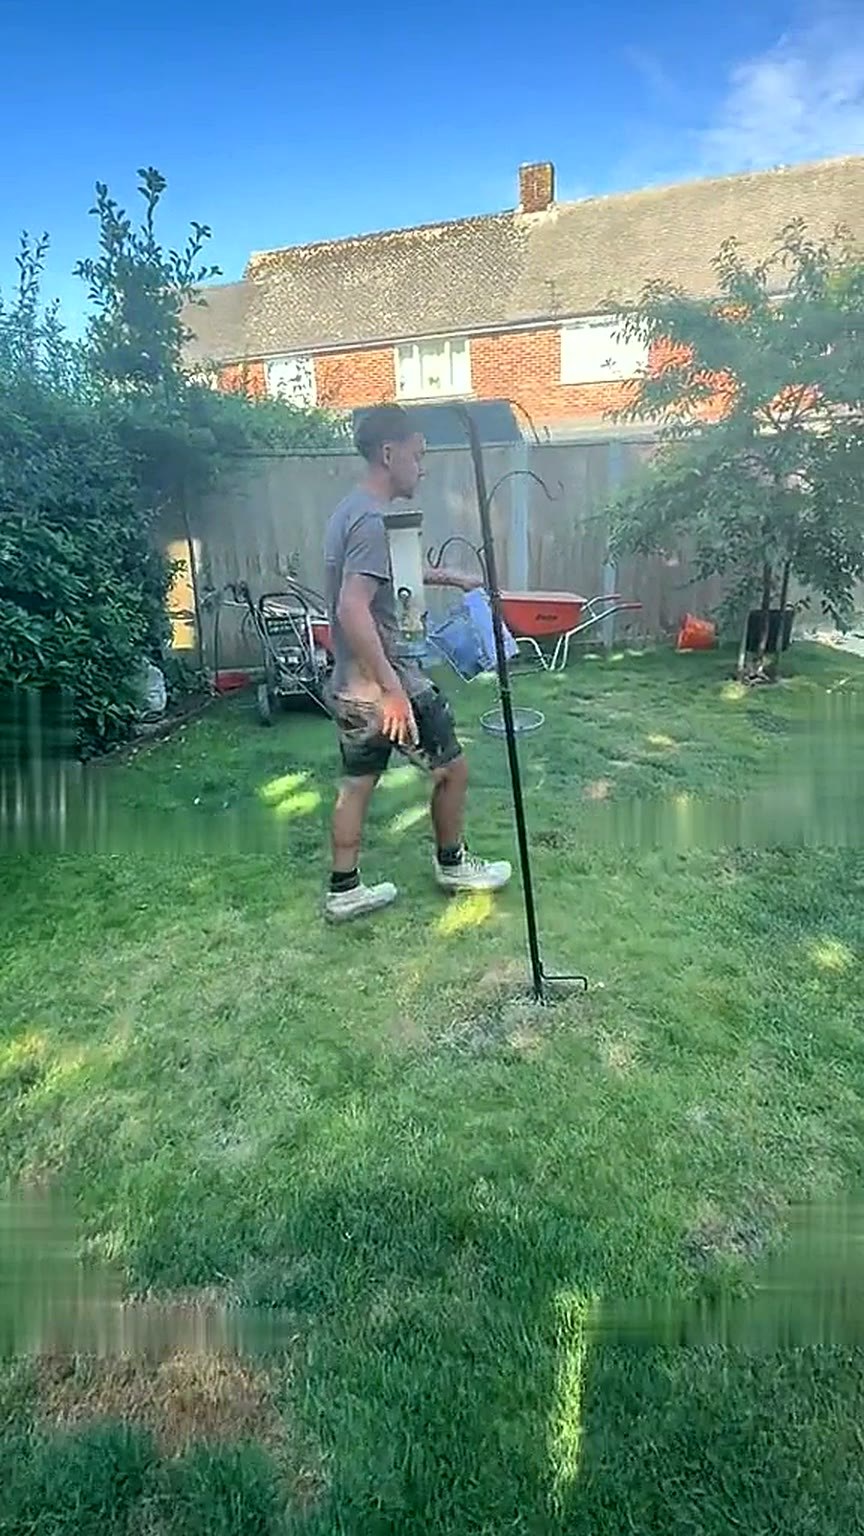
With no wall or fence to work from, the radius was pinned and marked full size, then checked from three fixed points before excavation began — so the shape was right on the ground rather than only on paper.
Resin Garden Surface, Porcelain Terrace & Circular Lawn — Wigton
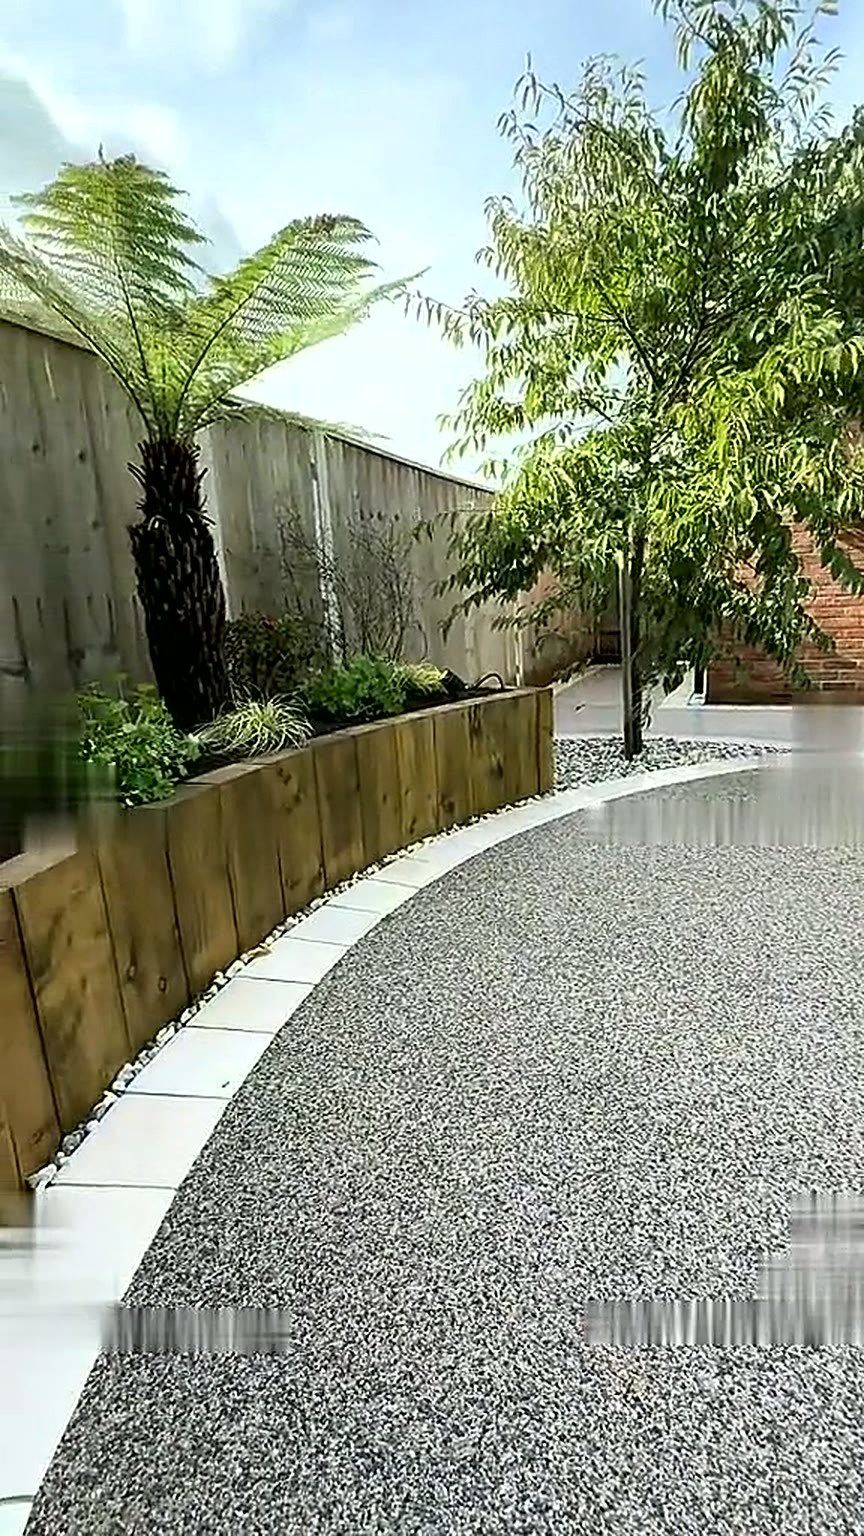
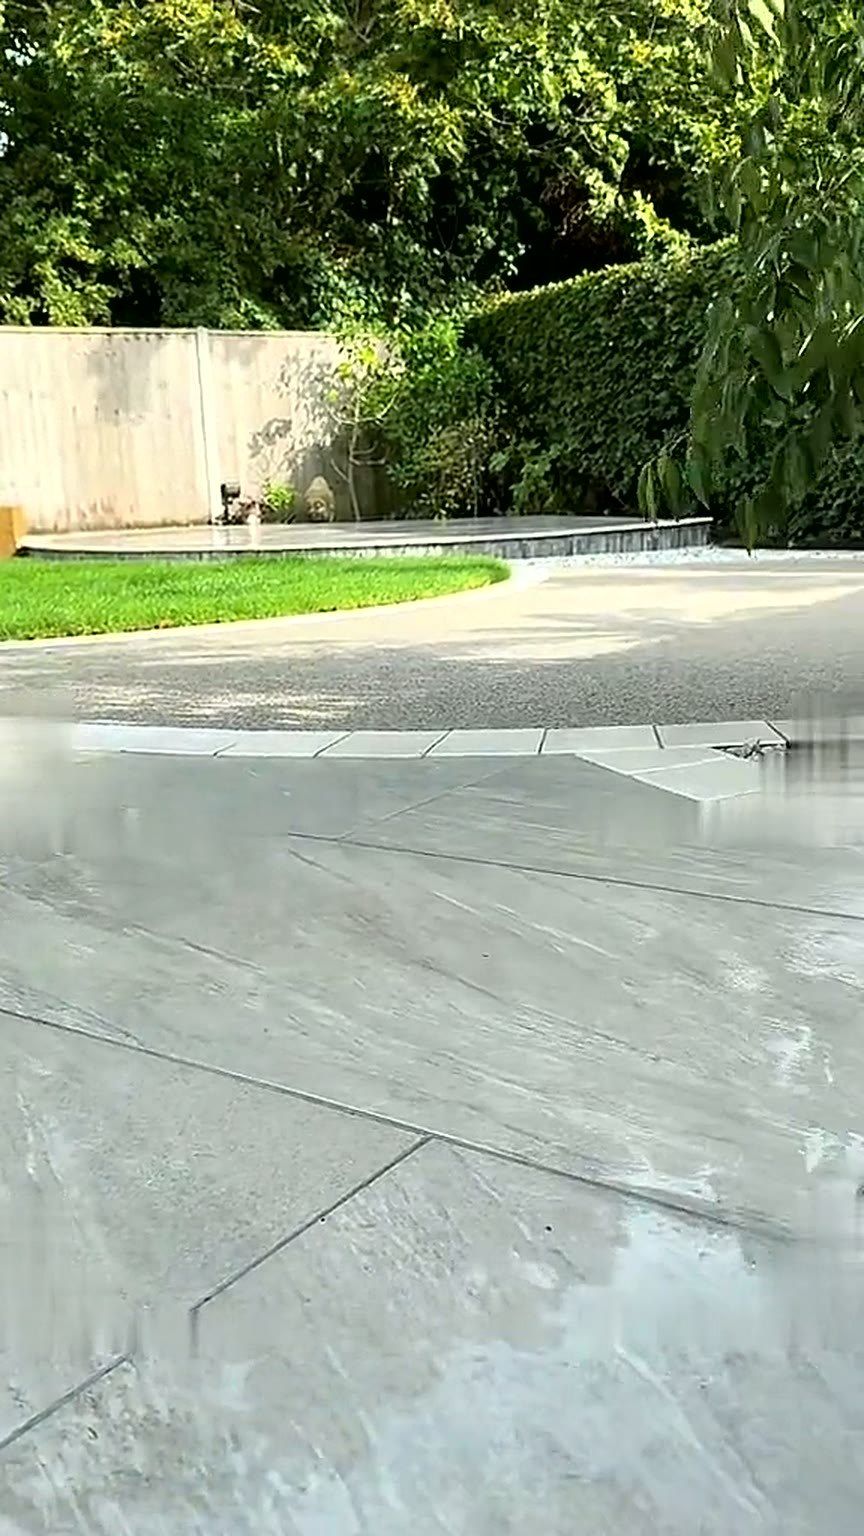
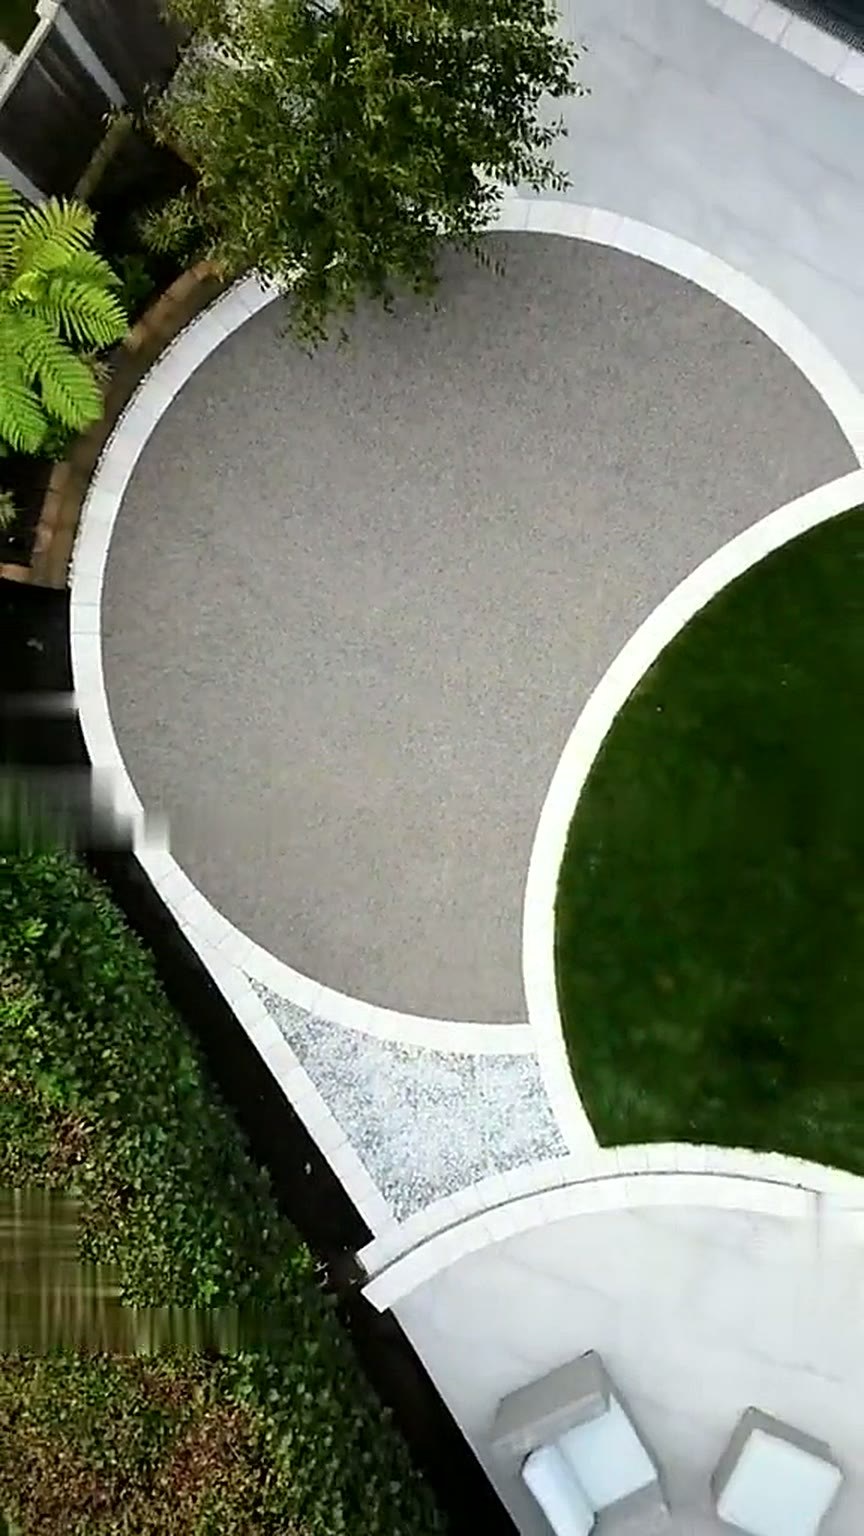
A flat, tired rear lawn rebuilt as a geometric garden: a perfect circle of turf held inside a sweeping resin bound surface, with a porcelain terrace running the length of the house and a pale kerb line drawing the whole shape together.
The garden began as a single rectangle of thin, uneven grass behind a brick bungalow — usable in July, unusable for most of the Cumbrian year. The owners wanted somewhere to sit and walk in every season without losing lawn altogether.
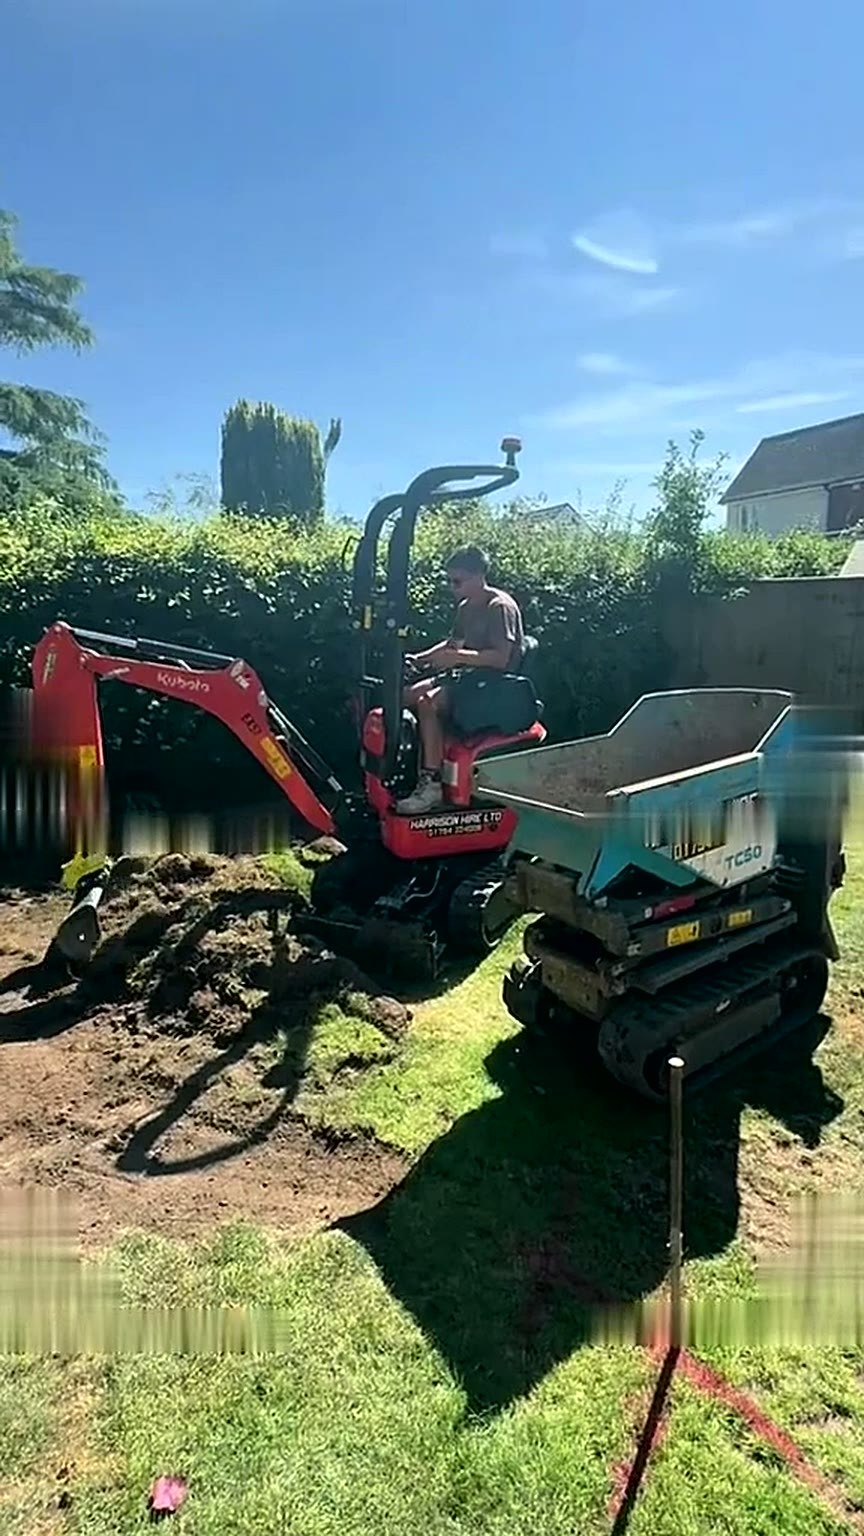
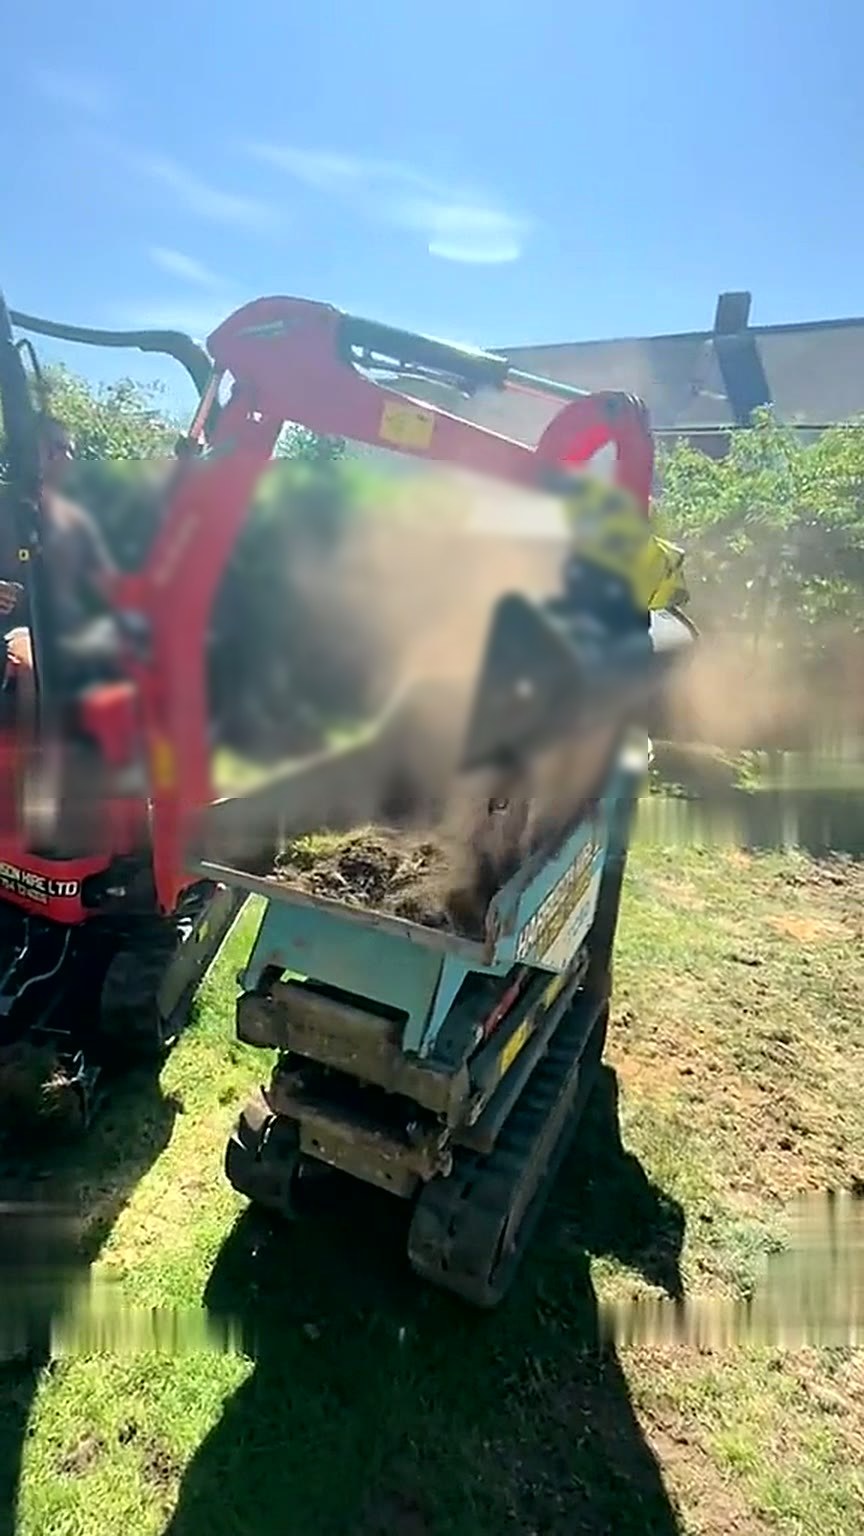
The scheme was set out on the ground first: string lines, pins and a marked radius, so the circle could be seen at full size before any turf was lifted. Once the geometry was agreed, a mini excavator stripped the topsoil and a tracked dumper carried spoil out through a narrow side gate, keeping barrows off the neighbouring drive.
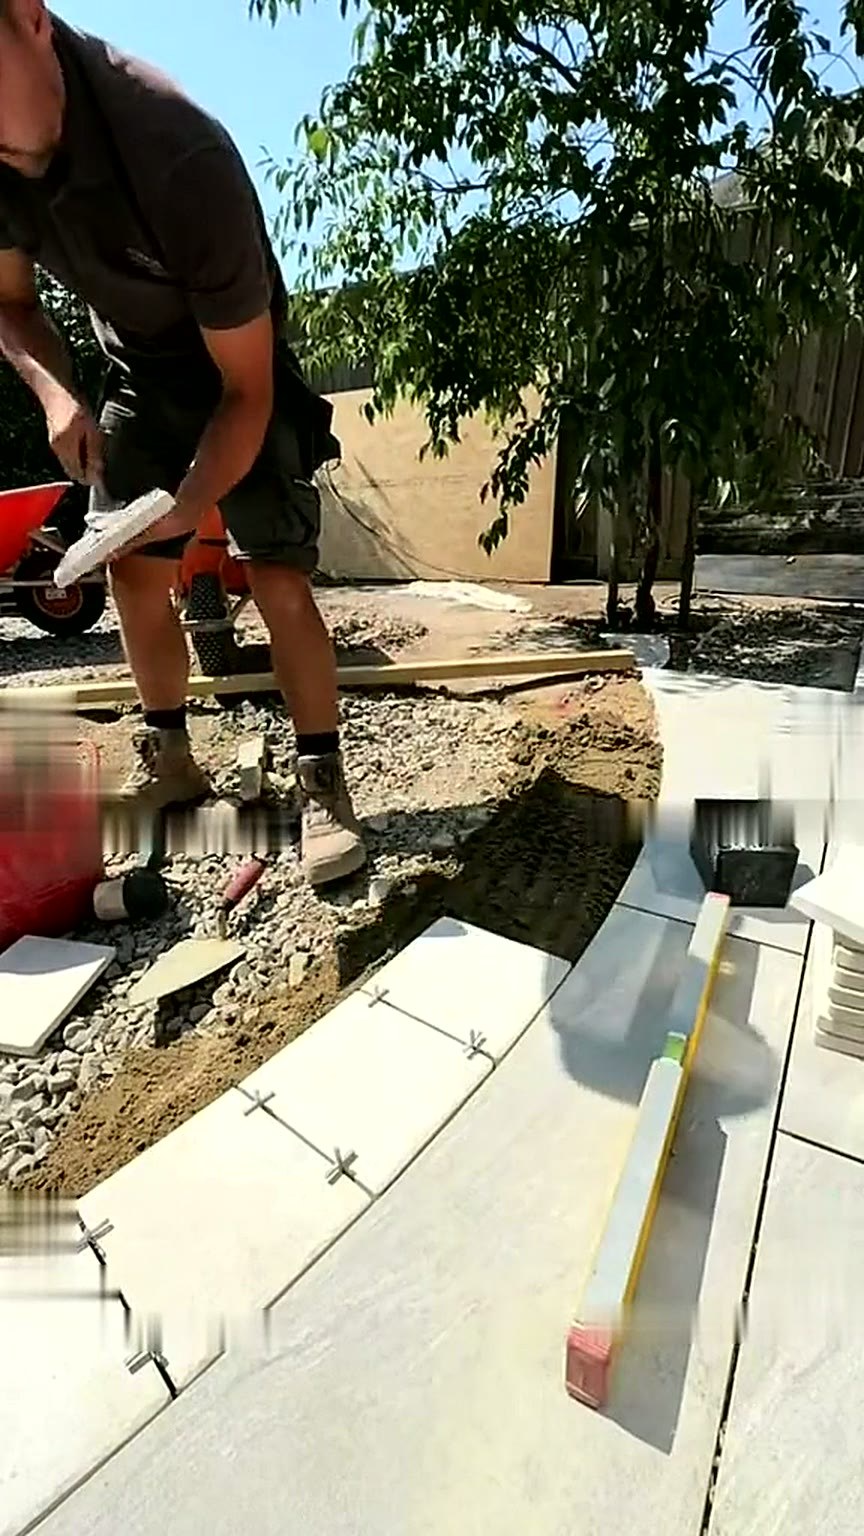
Kerbs and porcelain were laid before any resin arrived. The pale curved kerb was bedded and haunched to hold the circle true, the terrace slabs set on a full mortar bed with an even, deliberate joint, and a permeable cellular grid laid over the compacted sub-base to lock the surface across a wide open span.
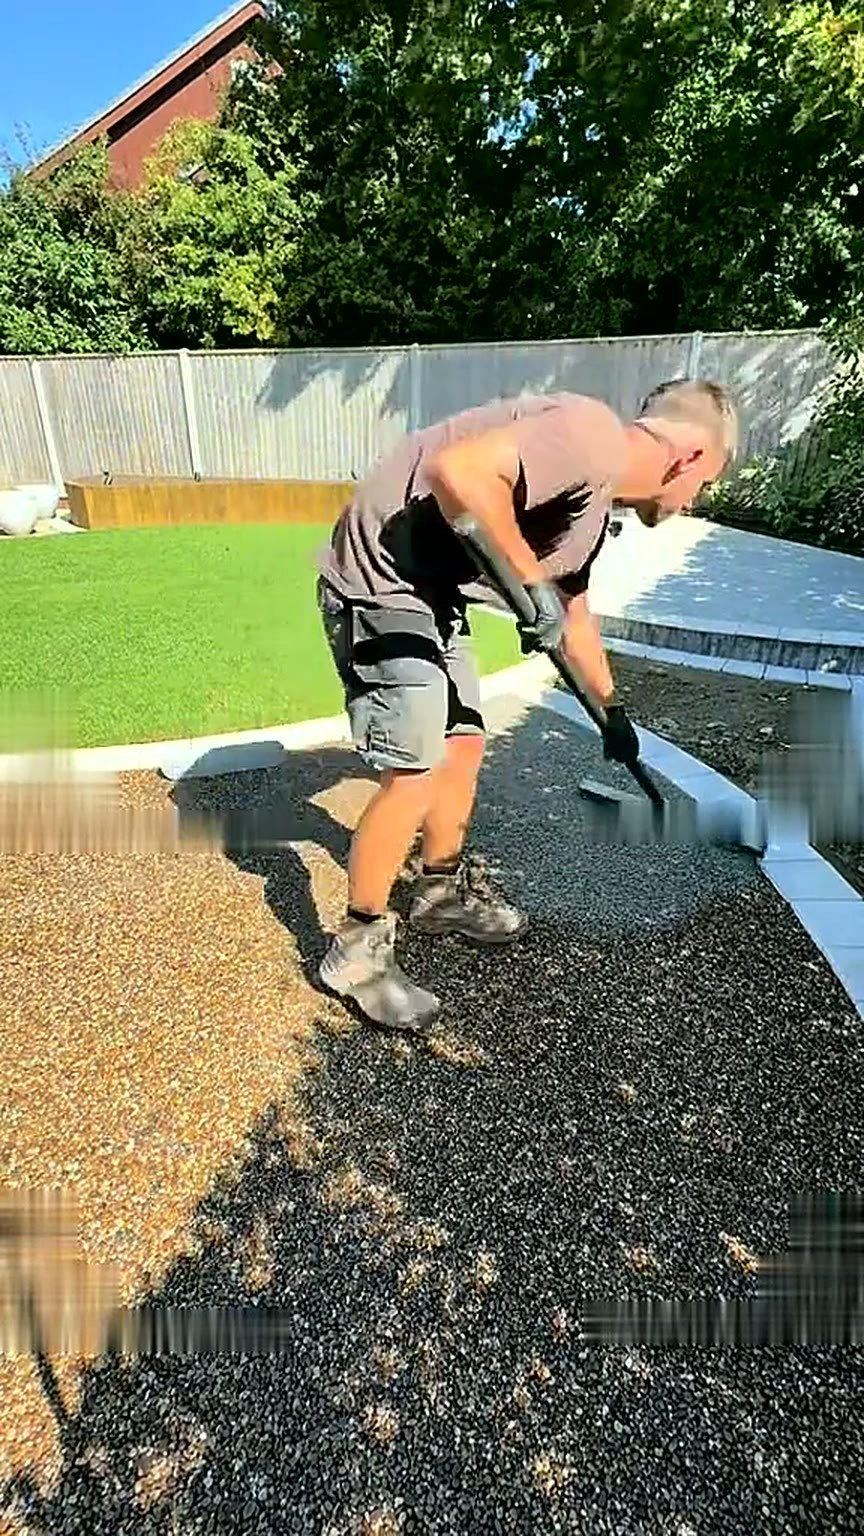
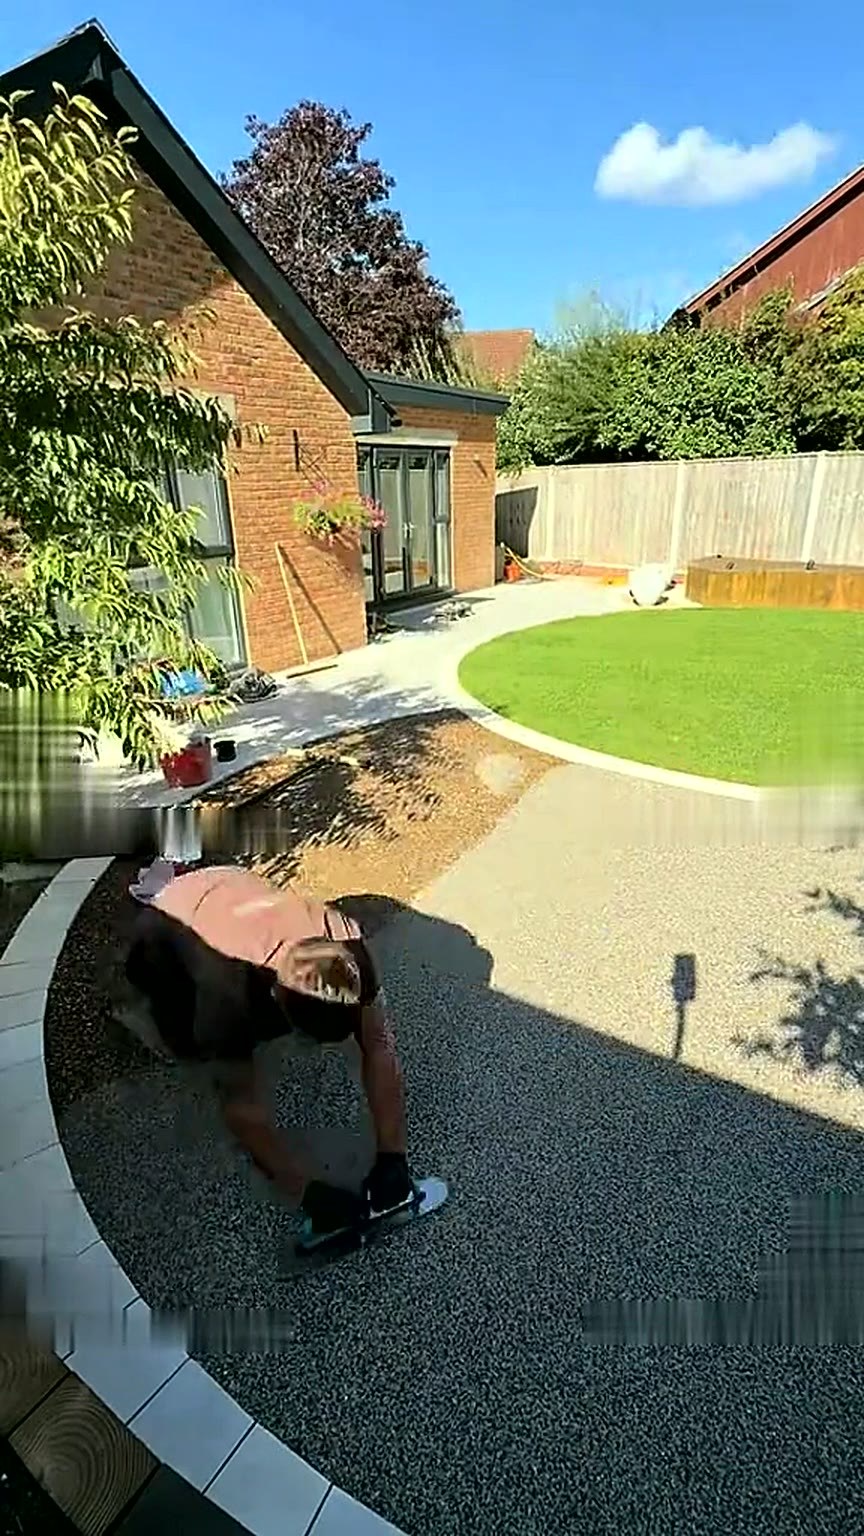
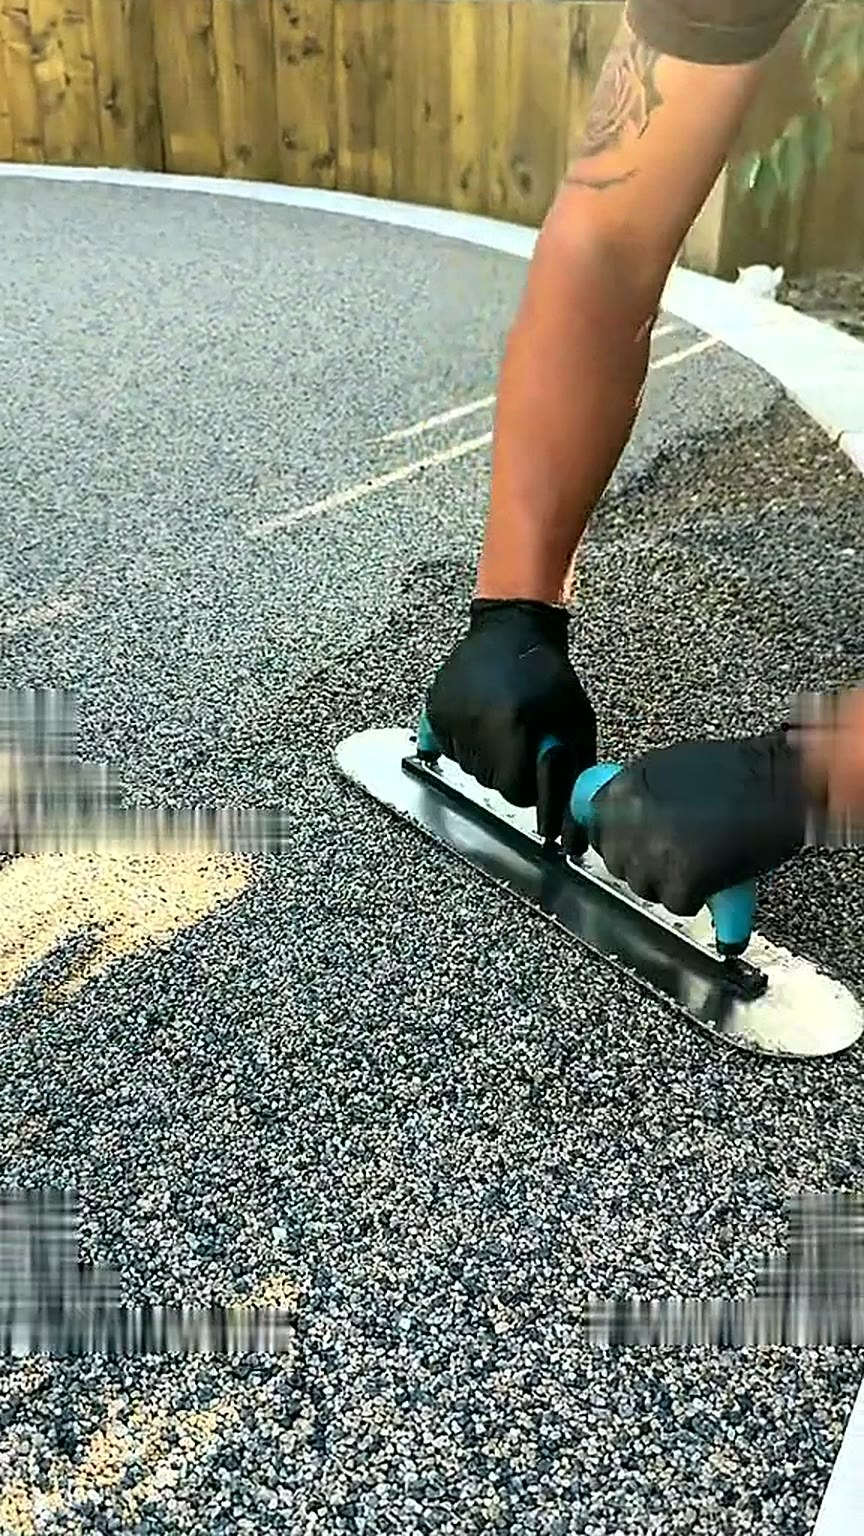
Resin and aggregate were forced-action mixed on site in timed batches, barrowed straight out, spread by hand and then floated and hand-trowelled to a seamless finish that runs unbroken from the terrace edge round to the far corner of the plot.
Seen from above, the garden reads as three clean shapes: circle, sweep and terrace. At ground level it simply feels calm — no steps, no thresholds, no mud.
What we solved
With no wall or fence to work from, the radius was pinned and marked full size, then checked from three fixed points before excavation began — so the shape was right on the ground rather than only on paper.
A compact excavator and tracked dumper were chosen to pass through the side gate, so spoil left the garden without barrows crossing the neighbouring drive or the existing planting.
A large open span with no natural restraint was built over a compacted permeable base with a cellular grid, giving the resin an even, unmoving platform right out to the kerb line.
Installation timeline
Access route protected, working area fenced and the full scheme set out on the ground — circle radius pinned and checked before anything was lifted.
Topsoil and old turf stripped to depth with a compact excavator, spoil carried out by tracked dumper through the side gate and removed the same day.
Formation trimmed and laser-levelled, falls carried away from the house and the terrace threshold set to finish flush with the patio doors.
Open-graded permeable stone laid and compacted in layers, then a cellular grid set across the open span to stabilise the surface.
Permeable build-up allows the garden to drain through rather than across, with falls checked at the kerb line and the terrace edge.
The pale curved kerb was cut, bedded and haunched to the marked radius, forming the permanent restraint that holds the circle true.
Light grey porcelain slabs laid on a full mortar bed with consistent joints, running the length of the house and tying into the resin line.
Resin and aggregate forced-action mixed in timed batches, barrowed out, spread by hand, floated and trowelled in one continuous pour.
Every kerb face, slab edge and lawn junction hand-finished, and the new circular lawn laid and dressed to sit level with the surface.
Surface cured, site cleared and swept, and the finished garden walked through with the owners along with a short aftercare note.
From the film

We'll walk the space with you, talk through build-up, drainage and finish, and leave you with a clear plan — no pressure, no obligation.
Prefer to browse first?Request our complimentary brochure