Resin Bound Driveway, Block Border & Recessed Manhole Detail — Kendal

A failing drive taken back to bare ground and rebuilt

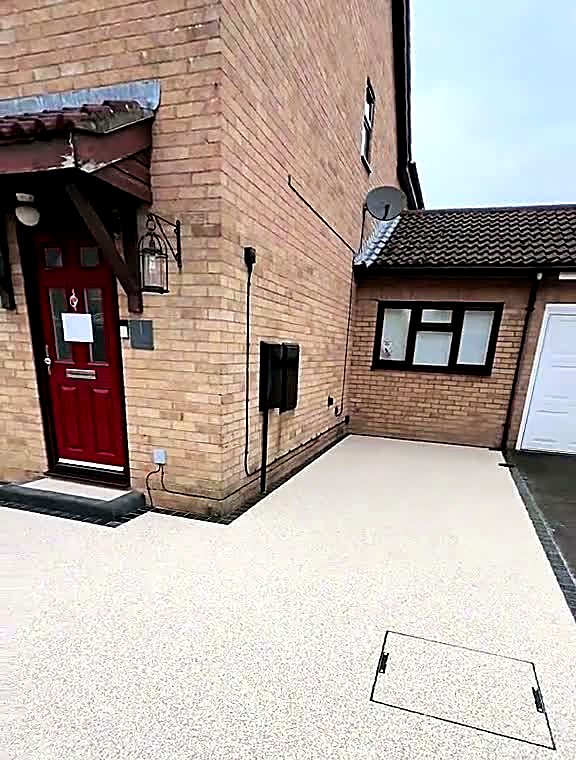
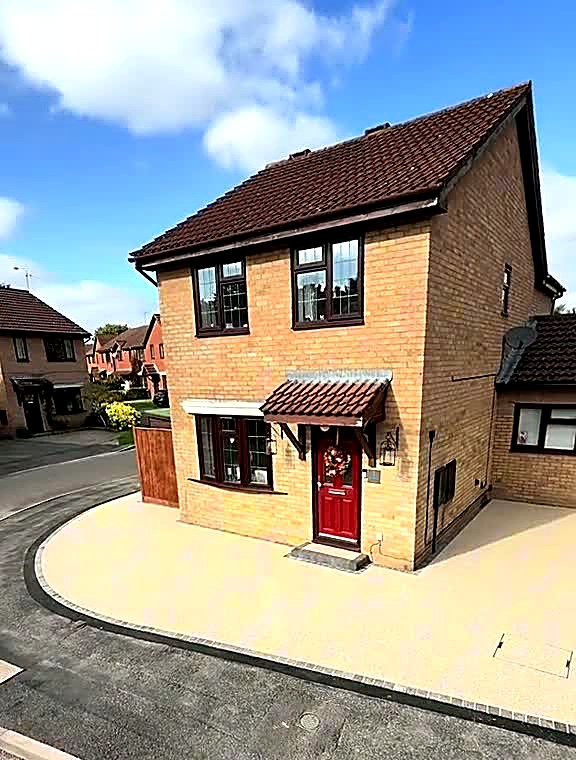
A broken concrete and tarmac frontage removed entirely and rebuilt from formation up: new sub-base, charcoal block border with a pale contrast course, a recessed tray manhole and a seamless pale gold resin bound surface sweeping to the road.

Installation film — broken concrete to finished driveway0:07

The frontage had been patched more than once. Concrete slabs had lifted, the tarmac apron had gone soft at the edges and water sat against the threshold of the house every time it rained. Overlaying would only have hidden the problem, so the decision was made early to take everything out and start again.

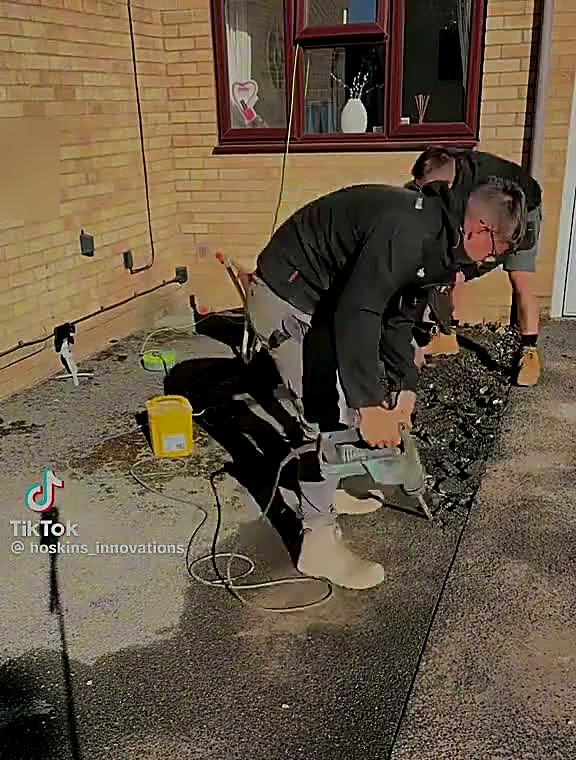
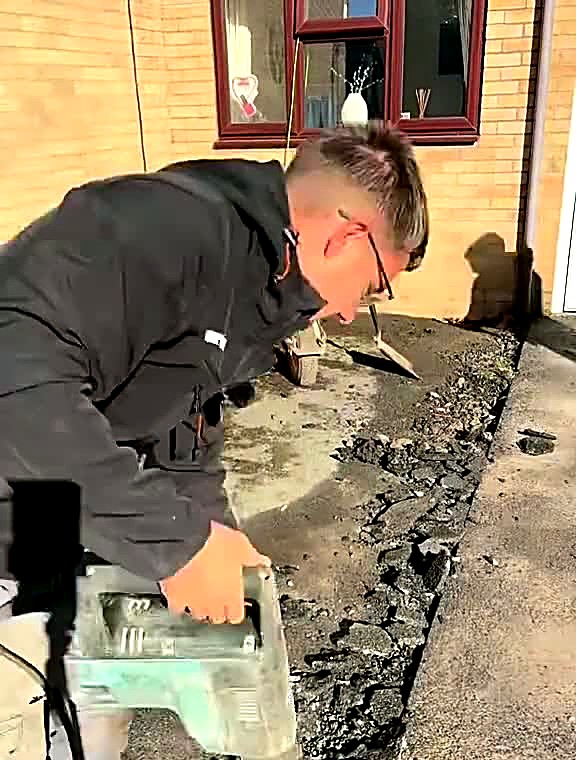
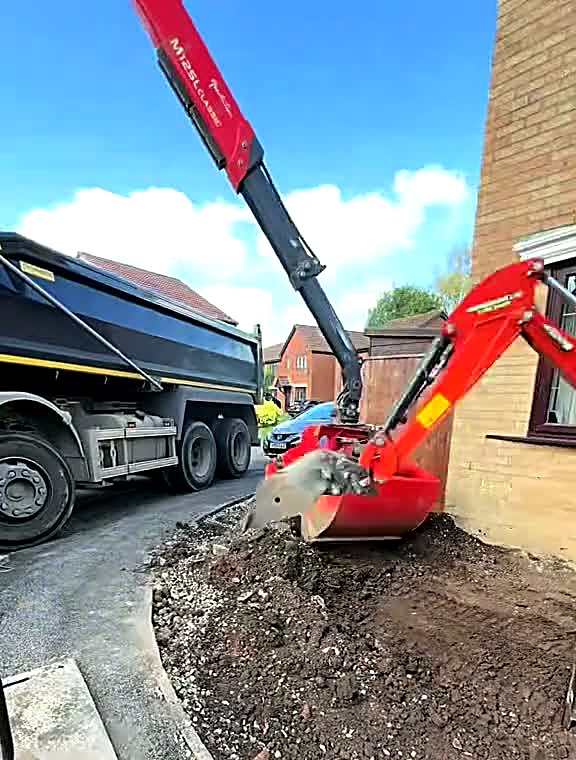
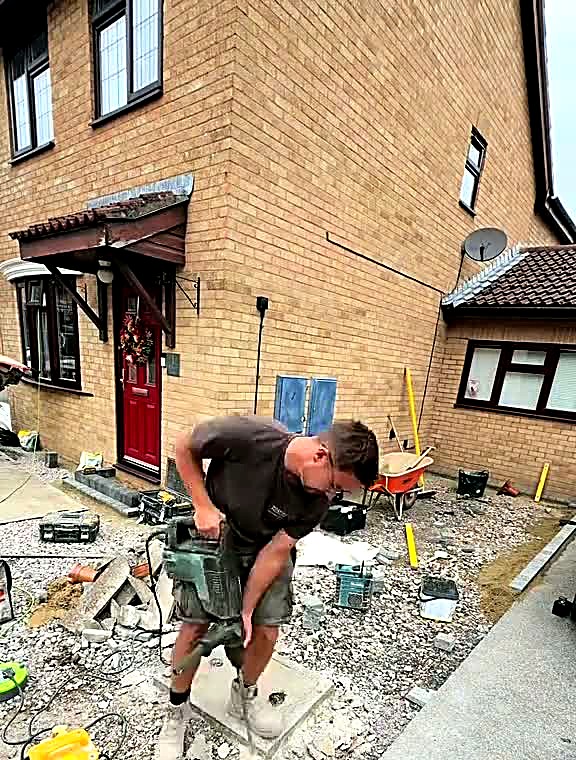
The old surfaces were broken out by hand where they met the house and the neighbouring boundary, then lifted by mini excavator. Spoil went straight into a grab lorry at the kerb rather than sitting in heaps on the frontage, keeping the drive workable for the family throughout.

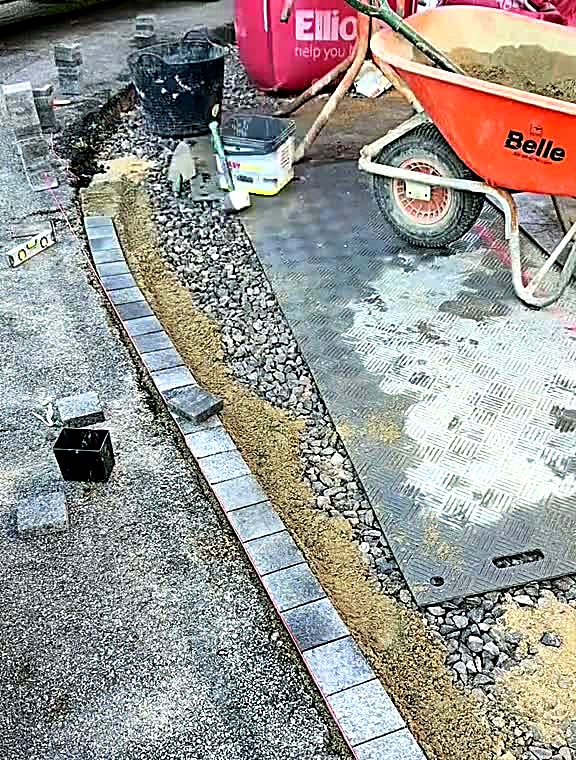
With a clean formation trimmed and compacted, geotextile was laid and open-graded stone tipped, spread and compacted in layers. Only then did the shape of the finished drive get set out — a charcoal block border with a single pale contrast course, bedded on concrete and haunched so it will hold the resin edge permanently.

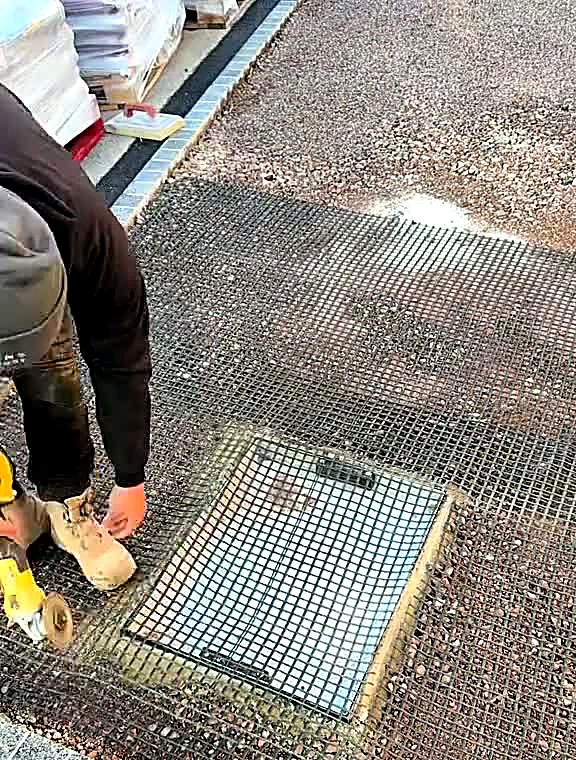
The detailing is where the project earns its keep. The manhole was replaced with a recessed tray so the finished surface runs across it almost invisibly. New block steps were built at the red front door so the threshold finishes flush and dry. Everything was compacted, primed and left true before resin was mixed.

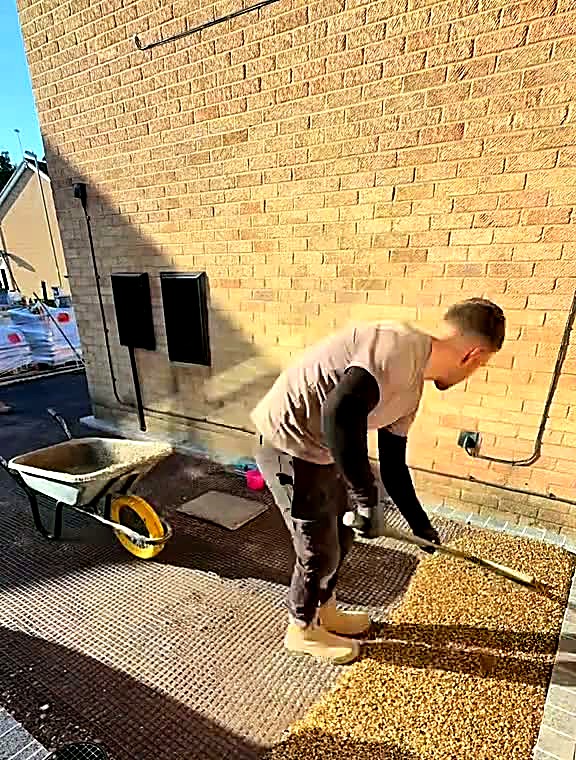
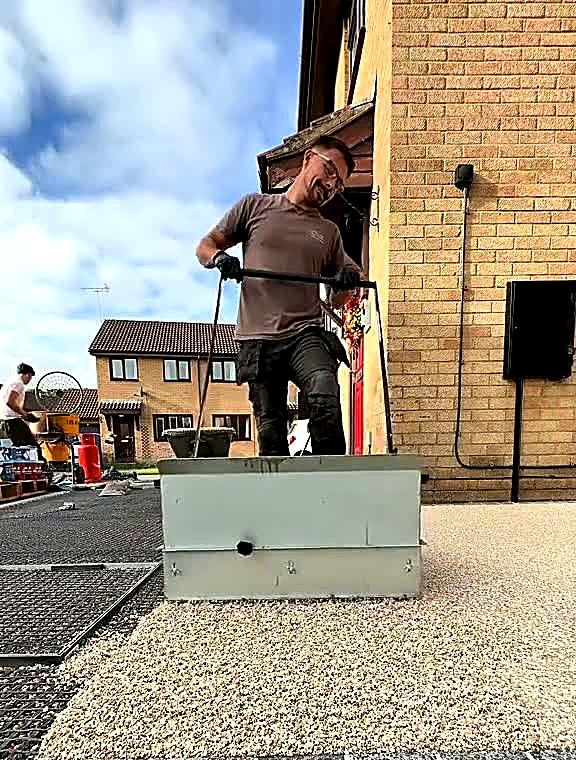
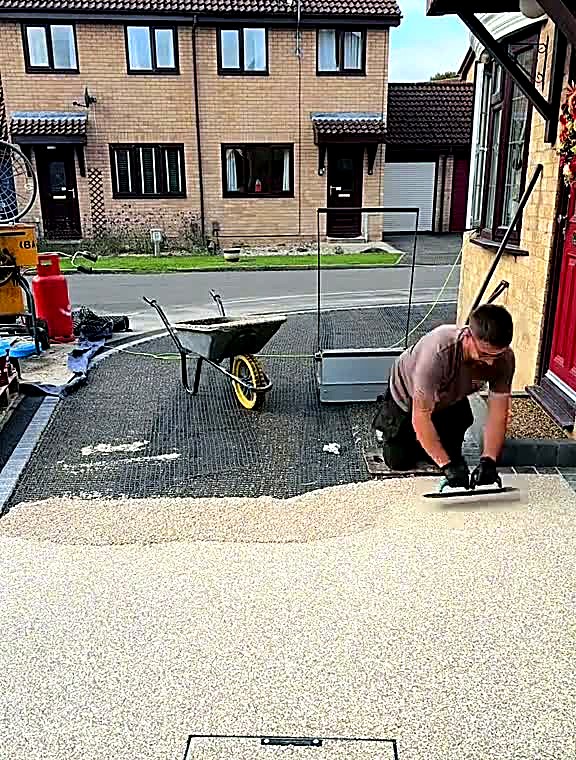
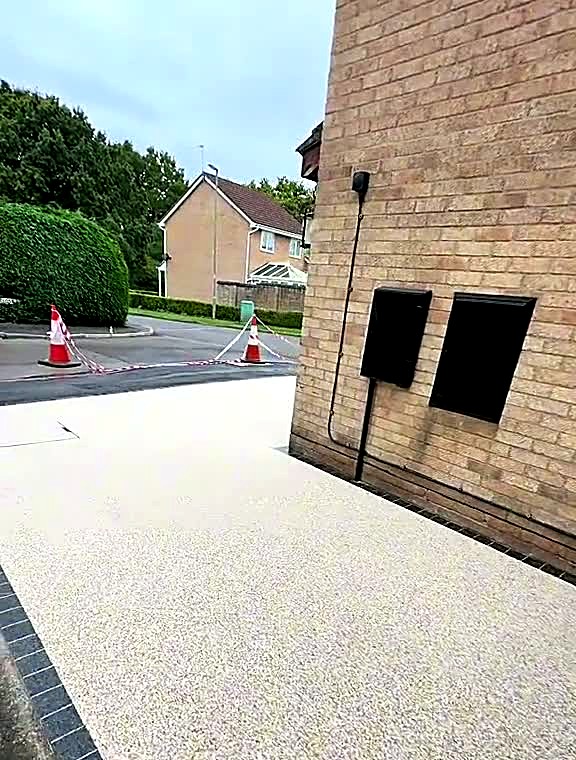
The surface itself went down in a single day: pale gold aggregate and UV-stable resin mixed in weighed batches, barrowed out, spread and hand-trowelled to one continuous plane. From the road, the drive now reads as one clean sweep of stone with a dark frame around it.

Service
Resin Bound Driveway, Block Border & Recessed Manhole Detail
Location
Kendal
On site
6 working days on site
Finish
Pale gold resin bound surface with charcoal block border and silver contrast course
Investment
Comparable investment: £11,500 – £15,500
Installed
June 2026
Project type
Front driveway and entrance rebuild
Size
Approximately 85m²

What we solved

The problems that decide how a driveway ages.

01

Existing ground that had already failed once

Cores showed the old concrete sat on very little. Rather than overlay a base we could not vouch for, the frontage was excavated to depth and rebuilt properly — the reason the programme ran six days rather than three.

02

An awkward threshold and a manhole in the middle of the drive

Levels were reset so water falls away from the door instead of towards it, and the manhole was swapped for a recessed tray so the cover disappears into the finished surface rather than interrupting it.

03

Keeping a lived-in house accessible

Work was sequenced so there was always a walkable route to the front door, spoil left by grab lorry the same day, and the pavement crossing kept clear for neighbours throughout.

Installation timeline

Five days, stage by stage.

  1. Day 1

    01 — Initial site preparation

    Access agreed, pavement crossing protected and the frontage set out. Edges against the house and boundary broken out by hand to avoid damaging brickwork.

  2. Day 1–2

    02 — Excavation

    Old concrete, slabs and tarmac lifted by mini excavator and loaded directly into a grab lorry at the kerb, so nothing was stockpiled on the frontage.

  3. Day 2

    03 — Groundworks and levels

    Formation trimmed and laser-checked, falls set away from the house and the finished level worked back from the door threshold and the road.

  4. Day 2–3

    04 — Sub-base construction

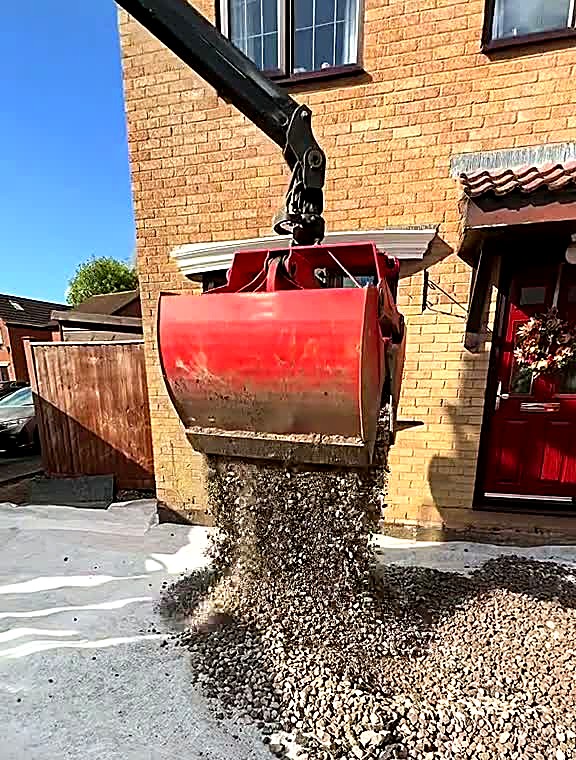
    Geotextile laid, then open-graded stone tipped, spread and compacted in layers until the base rang true underfoot.

  5. Day 3

    05 — Drainage

    Falls carried to the road edge, the existing chamber raised to finished level and a recessed tray cover fitted ready for infill.

  6. Day 3–4

    06 — Edging installation

    Charcoal blocks laid to line with a single silver contrast course, bedded on concrete and haunched both sides to restrain the resin permanently.

  7. Day 4

    07 — Entrance steps and detailing

    New block steps built at the front door so the threshold finishes flush, dry and level with the new surface.

  8. Day 5

    08 — Surface installation

    Pale gold aggregate and UV-stable resin forced-action mixed in weighed batches, barrowed out and spread in one continuous pour across the frontage.

  9. Day 5

    09 — Finishing details

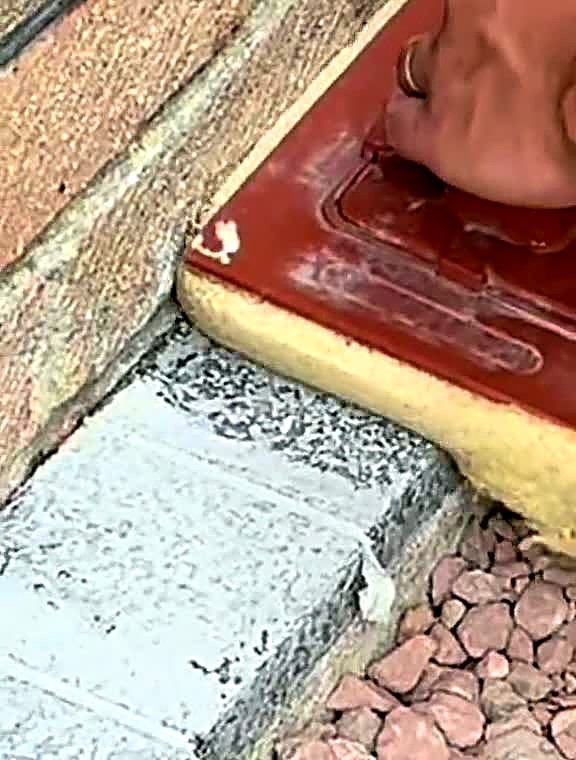
    Hand-trowelled while workable, the manhole tray infilled to match, and every edge worked tight to the block border by hand.

  10. Day 6

    10 — Final clean and completed transformation

    Surface cured overnight, site swept and cleared, cones lifted and the finished driveway handed over with an aftercare note.

  • Standing water at the threshold eliminated
  • One seamless surface — no joints, no weeds, no loose stone
  • Manhole recessed and infilled so it reads as part of the drive
  • Crisp dark border framing a pale surface against warm brick
  • Kerb-to-door fall corrected across the full frontage

From the film

Stills from site.

Broken concrete and tarmac driveway before removal at a Kendal house
Before — patched concrete, soft tarmac edges and water at the thresholdBefore
Installer breaking out old concrete beside a house wall with a breaker
Edges broken out by hand to protect the brickworkPreparation
Mini excavator lifting old driveway material into a grab lorry
Old surfaces lifted and loaded straight to the grab lorryGroundworks
Grab bucket tipping sub-base stone onto a prepared driveway formation
Open-graded stone tipped onto the trimmed formationGroundworks
Installer preparing the sub-base and levels across a front driveway
Levels reset so water falls away from the door, not towards itConstruction
Charcoal block paving border laid with a pale contrast course along a driveway edge
Charcoal border with a single silver contrast courseConstruction
Concrete bed and haunch being placed behind a new block paving edge
Every block bedded on concrete and haunched both sidesConstruction
Recessed tray manhole cover set flush into a prepared driveway surface
A recessed tray so the manhole disappears into the finishConstruction
New block steps built at a red front door with the driveway prepared around them
New steps so the threshold finishes flush and dryInstallation
Pale gold resin bound aggregate being spread across a prepared driveway
Pale gold aggregate spread in one continuous pourInstallation
Installer hand-trowelling resin bound surface smooth across a driveway
Hand-trowelled while workable — the pass that sets the finishFinishing
Finished pale resin bound driveway running to a charcoal block border
Seamless, permeable and free of jointsFinishing
Completed resin driveway sweeping to a red front door with dark block border
The finished sweep from kerb to doorCompleted
Completed resin bound driveway seen from the road outside a Kendal house
From the road — one clean plane of stone in a dark frameCompleted

See what your driveway could become

We'll walk the space with you, talk through build-up, drainage and finish, and leave you with a clear plan — no pressure, no obligation.

Prefer to browse first?Request our complimentary brochure