

Installation Guides
How a Resin Driveway Is Installed
The surface takes a few hours. Everything that makes it last takes the days before. Here is exactly what happens on a Northscape resin installation.
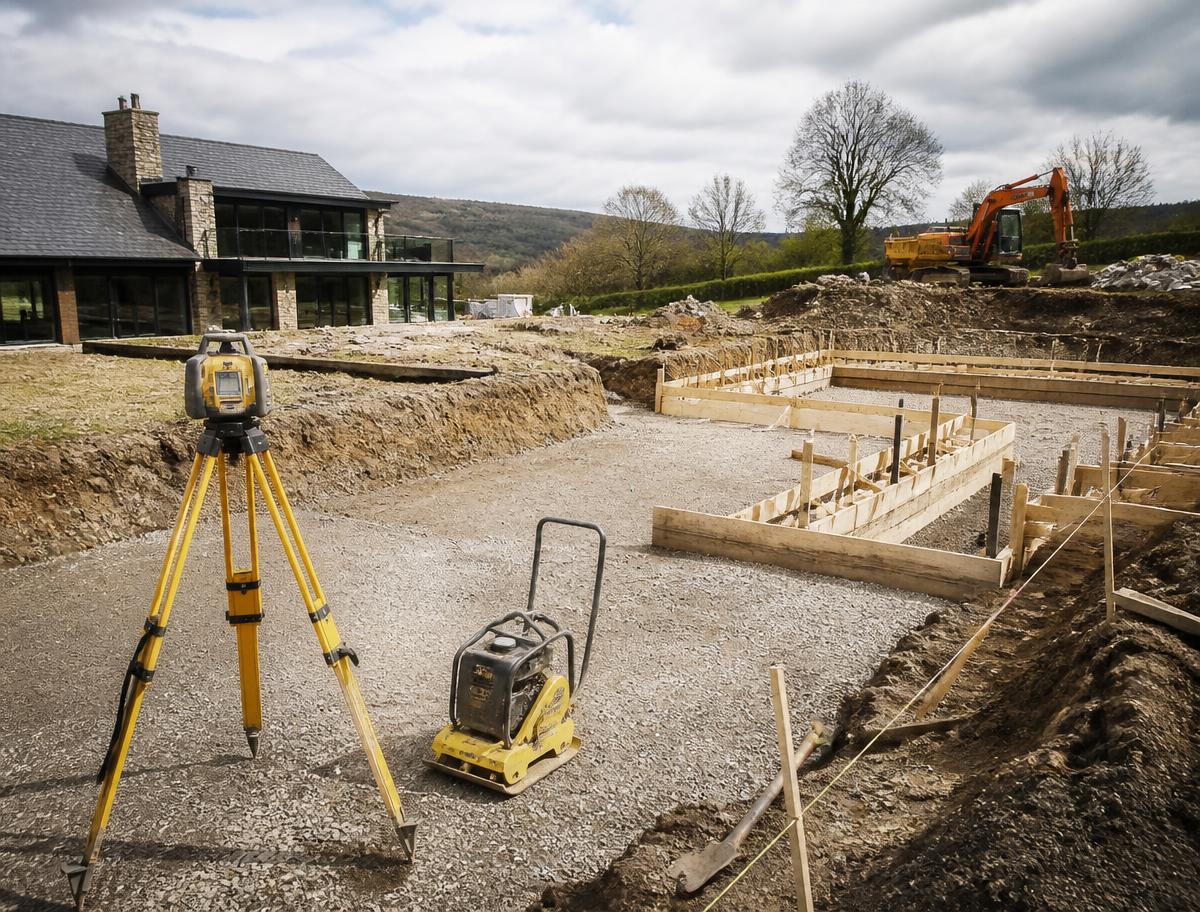
1. Survey and setting out
Levels are taken, falls are planned away from the house, and drainage positions are marked before a spade goes in the ground.
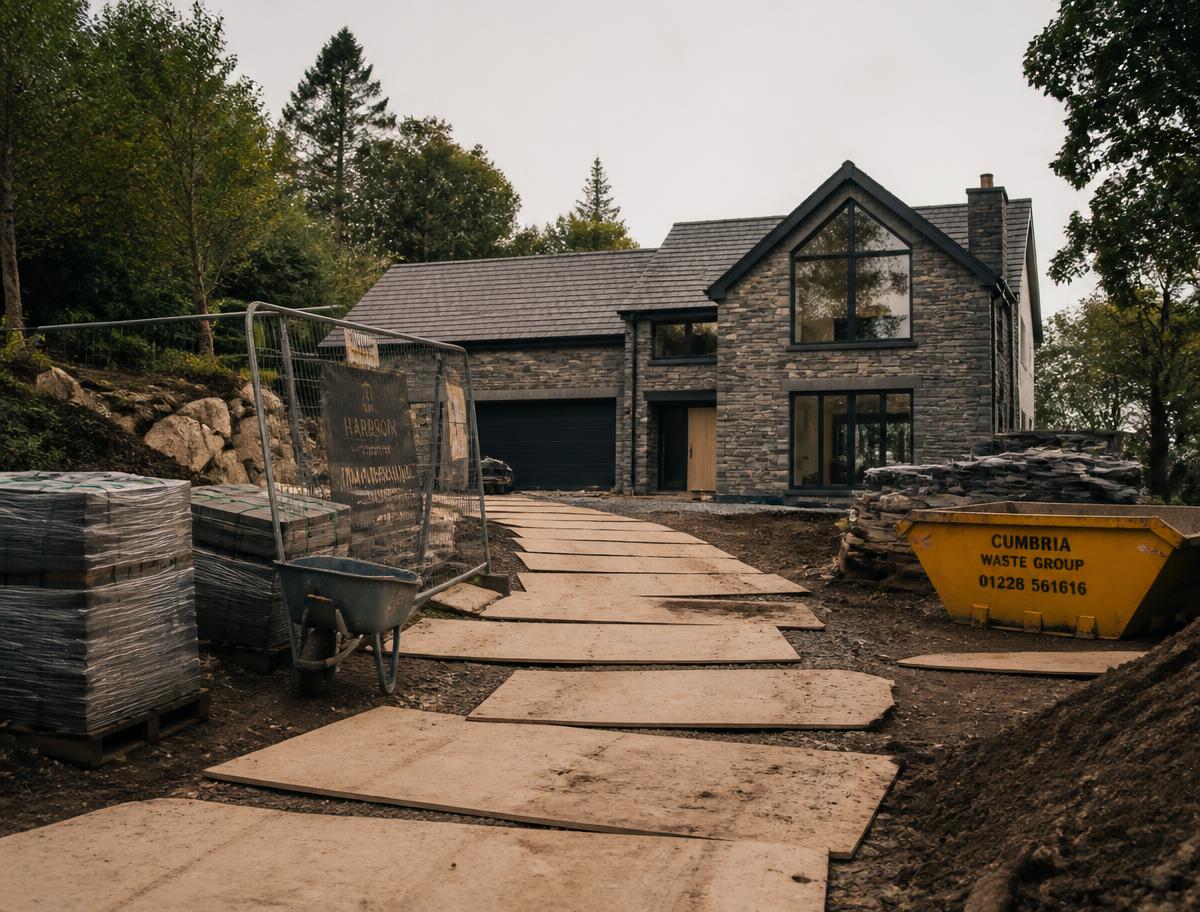
2. Excavation
Typically 150–250mm depending on whether the drive takes vehicles. Spoil is removed the same day, not stockpiled on your lawn.
3. Sub-base and compaction
Open-graded Type 3 stone laid in layers and compacted in passes. This is where a driveway is won or lost, and it is the part no one photographs.
4. Edge restraints and drainage
Kerbs, aluminium or granite edging set to line and level, and any channels or soakaways formed and connected.
5. Base course
A permeable binder course laid and rolled, giving a true, smooth surface for the resin to sit on.
6. Resin bound surface
Aggregate and UV stable resin are forced-action mixed on site in controlled batches, barrowed out and hand-trowelled to a seamless finish. Curing takes around six hours for foot traffic.
Common questions
Ready to talk it through in person?
We will walk your garden, take levels and talk honestly about what will work — no pressure, no sales pitch.
Prefer to browse first?Request our complimentary brochure